

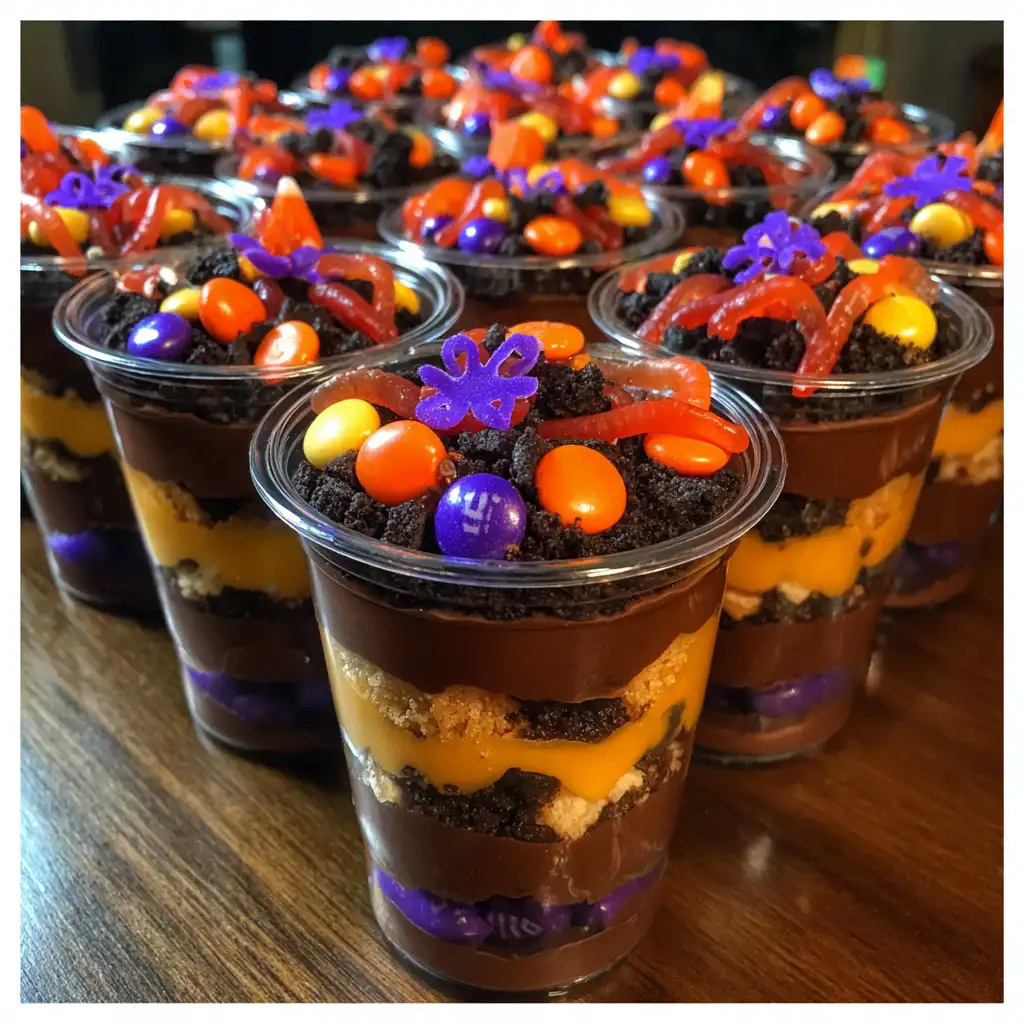
Trick or Treat Dirt Cups are a delightful and spooky dessert perfect for Halloween celebrations. These fun treats combine layers of creamy chocolate pudding, crunchy cookie crumbs, and colorful candies, creating a visually appealing and tasty experience. The name “dirt cups” comes from the crushed cookies that resemble dirt, while the gummy worms add a playful touch. Kids and adults alike will love digging into these cups, making them a hit at any Halloween party.
Not only are Trick or Treat Dirt Cups easy to make, but they also allow for creativity in presentation. You can customize the layers and toppings to suit your taste or theme. Whether you’re hosting a Halloween gathering or simply looking for a fun dessert to enjoy with family, these cups are sure to bring smiles and excitement. Plus, they are a great way to get kids involved in the kitchen, as they can help with layering and decorating.
In this article, we will guide you through the ingredients and step-by-step preparation of this delightful dessert. You’ll also find tips for making the perfect Trick or Treat Dirt Cups, variations to suit different dietary needs, and answers to frequently asked questions. So, let’s get started on creating this spooky yet scrumptious treat!
Ingredients for Trick or Treat Dirt Cups Recipe
To create your own Trick or Treat Dirt Cups, you’ll need a few simple ingredients. These items are easy to find and will help you whip up this fun dessert in no time. Here’s what you’ll need:
- 2 cups chocolate pudding (prepared, store-bought or homemade)
- 1 package (about 15 oz) chocolate sandwich cookies (such as Oreos)
- 1 cup gummy worms
- 1 cup vibrant orange and purple candies (such as M&M’s or candy corn)
- 2 cups whipped topping (such as Cool Whip)
- Clear plastic cups (8 oz size, for serving)
These ingredients come together to create a deliciously layered dessert that looks as good as it tastes. The chocolate pudding provides a rich and creamy base, while the crushed cookies add a delightful crunch. The gummy worms and colorful candies not only enhance the visual appeal but also add a fun twist that kids will love.
When selecting your ingredients, consider using fresh items for the best flavor. If you prefer homemade pudding, feel free to use your favorite recipe. The choice of candies can also be adjusted based on what you have on hand or your personal preferences. Now that you have your ingredients ready, let’s move on to the preparation steps!


Step-by-Step Preparation of Trick or Treat Dirt Cups Recipe
Step 1: Gather Your Ingredients
Before you start making your Trick or Treat Dirt Cups, it’s important to gather all your ingredients. This will make the process smoother and more enjoyable. Make sure you have:
- Chocolate pudding (2 cups)
- Chocolate sandwich cookies (1 package)
- Gummy worms (1 cup)
- Vibrant orange and purple candies (1 cup)
- Whipped topping (2 cups)
- Clear plastic cups (8 oz size)
Having everything ready will help you move quickly through the steps. Plus, it’s a great way to involve kids in the kitchen. They can help you check off each item as you go!
Step 2: Prepare the Chocolate Pudding
Next, it’s time to prepare the chocolate pudding. If you’re using store-bought pudding, simply follow the instructions on the package. If you prefer homemade pudding, make it according to your favorite recipe. Remember to let it cool completely before using it in the cups. This cooling step is crucial, as warm pudding can melt the whipped topping and ruin the layers.
Step 3: Crush the Oreos
Now, let’s crush those chocolate sandwich cookies! Place them in a resealable plastic bag. Use a rolling pin or your hands to crush them into fine crumbs. If you want a finer texture, a food processor works great too. Just be careful not to turn them into powder; you want some texture for that “dirt” look!
Step 4: Assemble the Dirt Cups
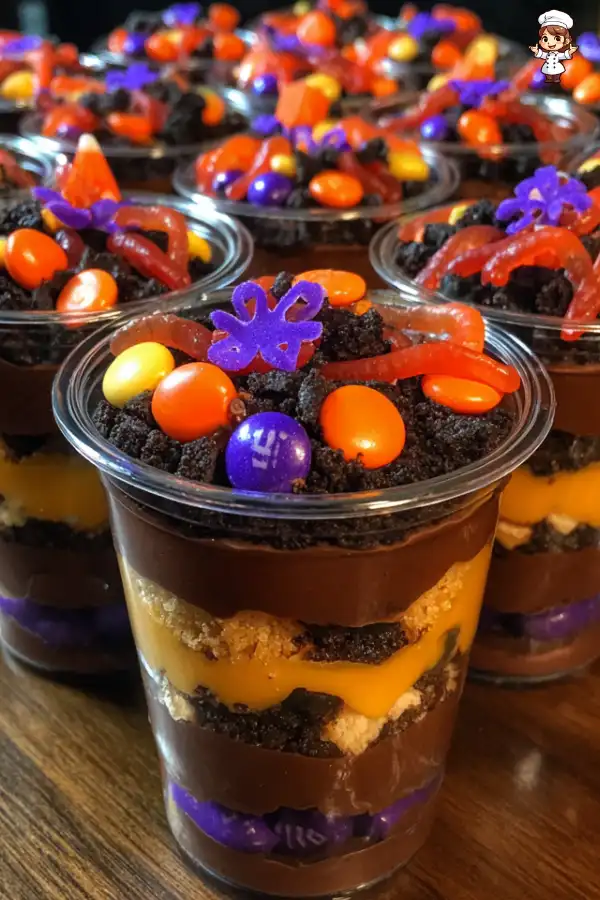
It’s time to assemble your dirt cups! Start by adding a layer of chocolate pudding to the bottom of each clear plastic cup. Fill it about one-third full. Next, sprinkle a layer of crushed cookies over the pudding. Use about 2 tablespoons of cookie crumbs per cup. This creates the first “dirt” layer. Then, add another layer of chocolate pudding, filling the cup to about two-thirds full. Follow this with another layer of crushed cookies, and then top it off with a final layer of chocolate pudding. This layering creates a beautiful and delicious dessert!
Step 5: Add the Fun Toppings
Finally, it’s time for the fun part—adding the toppings! Spoon a generous dollop of whipped topping on the very top of each cup. This fluffy cloud will make your dirt cups look extra inviting. Next, scatter vibrant orange and purple candies over the whipped topping. Finally, place a few gummy worms on top, letting them drape over the edges for that spooky effect. Your Trick or Treat Dirt Cups are now ready to chill!
Refrigerate the cups for at least 30 minutes. This allows the flavors to meld and the pudding to set. Once chilled, they are ready to serve. Enjoy this festive treat with family and friends!
Tips for Making the Perfect Trick or Treat Dirt Cups Recipe
Use Fresh Ingredients
Using fresh ingredients is key to making your Trick or Treat Dirt Cups truly delicious. Fresh chocolate pudding will have a rich flavor and creamy texture that enhances the overall taste. If you opt for homemade pudding, ensure that your ingredients are fresh and high-quality. This will make a noticeable difference in flavor.
When it comes to the chocolate sandwich cookies, check the expiration date. Fresh cookies will crush easily and provide the perfect “dirt” texture. Additionally, vibrant orange and purple candies should be colorful and appealing. If they are stale, they may not taste as good or look as inviting. Always choose the best ingredients for a delightful dessert experience!
Customize Your Toppings
One of the best parts of making Trick or Treat Dirt Cups is the ability to customize your toppings. While gummy worms and colorful candies are traditional, feel free to get creative! You can use different types of candies, such as chocolate-covered pretzels or spooky-themed sprinkles. This allows you to match the dessert to your Halloween theme or personal preferences.
For a healthier twist, consider adding fresh fruit like sliced strawberries or blueberries. They can add a pop of color and a refreshing taste. You can also experiment with different flavors of whipped topping, such as chocolate or vanilla, to change the flavor profile. The possibilities are endless, so have fun and let your creativity shine!
Variation of Trick or Treat Dirt Cups Recipe
Alternative Ingredients for Different Dietary Needs
When it comes to making Trick or Treat Dirt Cups, you can easily adapt the recipe to meet various dietary needs. For those who are gluten-free, simply choose gluten-free chocolate sandwich cookies. Many brands offer delicious options that will work perfectly in this recipe.
If you’re looking for a dairy-free version, consider using almond milk or coconut milk to make your pudding. There are also dairy-free whipped toppings available that can replace traditional whipped cream. For a vegan option, ensure that all your ingredients, including the cookies and pudding, are plant-based.
Additionally, if you want to reduce sugar, you can use sugar-free pudding and cookies. This way, you can still enjoy the fun of Trick or Treat Dirt Cups without the extra sweetness. Remember, the key is to find alternatives that still provide great taste and texture, so everyone can enjoy this festive treat!
Creative Themes for Your Dirt Cups
Let your imagination run wild with creative themes for your Trick or Treat Dirt Cups! For a spooky Halloween vibe, you can add edible eyes or creepy candy decorations. Consider using black and orange sprinkles to enhance the Halloween spirit. You can even create a graveyard scene by adding small chocolate tombstones made from chocolate bars.
If you’re hosting a monster-themed party, use green pudding instead of chocolate. You can make this by adding a few drops of green food coloring to vanilla pudding. Top it with gummy monsters or candy eyeballs for a fun twist. For a fall theme, consider using pumpkin-flavored pudding and topping it with candy corn and mini pumpkin candies.
These creative themes not only make your dessert visually appealing but also add an extra layer of fun to your Halloween celebrations. So, gather your ingredients and let your creativity shine as you prepare these delightful Trick or Treat Dirt Cups!
Frequently Asked Questions About Trick or Treat Dirt Cups Recipe
Can I make Trick or Treat Dirt Cups in advance?
Absolutely! You can make Trick or Treat Dirt Cups a day in advance. This is a great way to save time, especially if you’re preparing for a party. Just make sure to cover them well with plastic wrap or a lid before placing them in the refrigerator. This will keep them fresh and prevent any odors from affecting the taste. When you’re ready to serve, simply add the toppings and enjoy!
What can I use instead of Oreos in the Trick or Treat Dirt Cups Recipe?
If you want to switch things up, there are plenty of alternatives to Oreos. You can use any chocolate sandwich cookies available, such as Hydrox or generic brands. For a gluten-free option, look for gluten-free chocolate cookies. If you prefer a different flavor, vanilla sandwich cookies can also work well. Just remember, the key is to have a crunchy layer that resembles dirt!
How long do Trick or Treat Dirt Cups last in the fridge?
Trick or Treat Dirt Cups can last in the fridge for about 2 to 3 days. However, for the best taste and texture, it’s recommended to enjoy them within the first day or two. After that, the cookie crumbs may become soggy, which can affect the overall experience. If you notice any changes in texture or smell, it’s best to discard them.
Can I use different flavors of pudding for this recipe?
Yes, you can definitely use different flavors of pudding! While chocolate is a classic choice, vanilla, butterscotch, or even pumpkin pudding can add a unique twist to your Trick or Treat Dirt Cups. Just keep in mind that the flavor of the pudding will change the overall taste of the dessert. Feel free to experiment and find your favorite combination!
Print
Trick or Treat Dirt Cups Recipe
- Total Time: 30 minutes (plus chilling time)
- Yield: 6 servings 1x
- Diet: Vegetarian
Description
Trick or Treat Dirt Cups are a delightful and spooky dessert perfect for Halloween celebrations, combining layers of creamy chocolate pudding, crunchy cookie crumbs, and colorful candies.
Ingredients
- 2 cups chocolate pudding (prepared, store-bought or homemade)
- 1 package (about 15 oz) chocolate sandwich cookies (such as Oreos)
- 1 cup gummy worms
- 1 cup vibrant orange and purple candies (such as M&M’s or candy corn)
- 2 cups whipped topping (such as Cool Whip)
- Clear plastic cups (8 oz size, for serving)
Instructions
- Gather all your ingredients.
- Prepare the chocolate pudding according to package instructions or your favorite recipe and let it cool completely.
- Crush the chocolate sandwich cookies into fine crumbs.
- Assemble the dirt cups by layering chocolate pudding, crushed cookies, and more pudding in clear plastic cups.
- Add whipped topping on top, followed by vibrant candies and gummy worms. Refrigerate for at least 30 minutes before serving.
Latest Amazon Finds


Notes
- Use fresh ingredients for the best flavor.
- Customize toppings based on personal preferences.
- Consider gluten-free or dairy-free alternatives if needed.
- Prep Time: 20 minutes
- Cook Time: 0 minutes
- Category: Dessert
- Method: No-bake
- Cuisine: American
Nutrition
- Serving Size: 1 cup
- Calories: 250
- Sugar: 20g
- Sodium: 150mg
- Fat: 10g
- Saturated Fat: 5g
- Unsaturated Fat: 3g
- Trans Fat: 0g
- Carbohydrates: 35g
- Fiber: 1g
- Protein: 3g
- Cholesterol: 15mg
Keywords: Halloween, dessert, dirt cups, chocolate pudding, spooky treats