

Let me tell you, there’s nothing quite like stabilized whipped cream! It’s my secret weapon in the kitchen, and trust me, once you try it, you’ll never go back to regular whipped cream. The beauty of stabilized whipped cream is that it holds its shape longer. So, if you’re like me and love to pile on the whipped cream, whether it’s over a slice of pie, a decadent cake, or even just a bowl of fresh berries, this recipe is an absolute game changer. I remember the first time I made it for a family gathering—the dessert table looked stunning, and my whipped cream stayed fluffy and perfect for hours! You won’t have to worry about it wilting away, which is a major plus when you’re entertaining. Plus, it’s super easy to whip up, and you probably have most of the ingredients in your pantry already. So, let’s dive into this delightful recipe that’ll elevate your desserts to a whole new level!

Ingredients List
To make this magical stabilized whipped cream, you’ll need just a handful of simple ingredients. Here’s what you’ll need:
- 1 cup heavy cream – This is the base of your whipped cream, so go for a good quality, high-fat cream for the best results.
- 2 tablespoons powdered sugar – This adds just the right amount of sweetness without making it too sugary. Plus, it helps with the stabilization!
- 1 teaspoon vanilla extract – For that lovely hint of flavor that brings everything together. Trust me, it makes a difference!
- 1 teaspoon gelatin – This is your secret ingredient for stabilization. It’ll help your whipped cream hold its shape beautifully.
- 2 tablespoons cold water – You’ll use this to dissolve the gelatin. Make sure it’s cold for the best results!
Gather these ingredients, and you’ll be well on your way to making whipped cream that stays perfect for days!


How to Prepare Stabilized Whipped Cream
Ready to whip up some stabilized whipped cream? It’s actually quite simple! Follow these steps, and soon you’ll have a fluffy, stable topping that’ll make all your desserts shine. Don’t worry if you’ve never worked with gelatin before; I’ll guide you through it!
Step-by-Step Instructions
- Start with the gelatin: In a small bowl, sprinkle the 1 teaspoon of gelatin over 2 tablespoons of cold water. Let it sit for about 5 minutes to bloom. This step is crucial—don’t rush it! You want the gelatin to absorb the water and soften nicely.
- Dissolve the gelatin: After the 5 minutes, pop the bowl in the microwave for about 10-15 seconds, or until the gelatin is completely dissolved. Give it a little stir to ensure there are no lumps. You don’t want any bits of gelatin in your whipped cream, trust me!
- Mix your cream: In a larger mixing bowl, combine 1 cup of heavy cream, 2 tablespoons of powdered sugar, and 1 teaspoon of vanilla extract. I love using a hand mixer for this, but you can go old-school with a whisk if you’re feeling ambitious!
- Whip it up: Beat the cream mixture on medium speed until soft peaks form. This usually takes just a couple of minutes. You’ll know you’re there when the cream starts to look fluffy and holds a shape but isn’t fully stiff yet.
- Add the gelatin: Now here’s where the magic happens! With the mixer still running, slowly pour in the warm gelatin mixture. This is key to incorporating it evenly without clumps. Keep mixing until you see stiff peaks form. Your whipped cream should now be thick, fluffy, and ready to hold its shape!
- Use or store: Use your stabilized whipped cream immediately to top desserts, or store it in the fridge for later. It can last up to a week, so feel free to make it ahead of time!
And there you have it! With just a few simple steps, you’ve created a delicious whipped cream that won’t let you down. Now, go ahead and pile it on your favorite sweets!
Why You’ll Love This Recipe
- Long-lasting stability: Unlike regular whipped cream, this stabilized version holds its shape for days. Perfect for parties or make-ahead desserts!
- Easily customizable: Feel free to add your favorite flavors, like almond or citrus zest, to make it uniquely yours!
- Quick and simple: With just a few steps, you can whip up this delightful cream in no time. It’s so easy, you’ll wonder why you didn’t try it sooner!
- Perfect for any dessert: Whether you’re topping cakes, pies, or even fruit, this whipped cream is versatile enough to complement any sweet treat.
- Great for leftovers: You can store it in the fridge for up to a week, so you can enjoy deliciously fluffy whipped cream anytime!
Tips for Success
To make sure your stabilized whipped cream turns out perfectly every time, I’ve got a few expert tips that will help you avoid common pitfalls. First off, keep everything cold! Using chilled bowls and beaters can make a huge difference in achieving the right texture. I pop my mixing bowl in the freezer for a few minutes before starting, and it works wonders!
Another tip: Don’t overwhip! It’s easy to get carried away, but stop whipping once you hit stiff peaks. If you go too far, you might end up with a grainy texture or even butter—oops! And remember to add the gelatin slowly while mixing. This ensures it gets evenly incorporated without clumping.
If you want to add flavors, do it sparingly. A teaspoon of a strong flavoring can elevate your whipped cream, but too much can mess with the stabilization. Lastly, keep an eye on the consistency; if it starts to look too soft after a few days, give it a quick whip before serving. With these tips in mind, you’ll be a stabilized whipped cream pro in no time!
Nutritional Information
It’s important to note that nutritional values can vary based on the specific ingredients and brands you use, so these numbers are just a general guide. For a serving size of about 2 tablespoons of stabilized whipped cream, you can expect the following typical values:
- Calories: 50
- Fat: 5g
- Saturated Fat: 3g
- Trans Fat: 0g
- Cholesterol: 15mg
- Sodium: 5mg
- Carbohydrates: 1g
- Sugar: 2g
- Protein: 0g
This whipped cream is a delightful addition to your desserts while still being mindful of those calorie counts! Enjoy it in moderation, and you’ll be indulging without worry.
FAQ Section
How long does stabilized whipped cream last?
Great question! One of the best things about stabilized whipped cream is its longevity. It can last up to a week in the refrigerator, which is a lifesaver for meal prep or when you’re entertaining guests. Just make sure to store it in an airtight container to keep it fresh. If it starts to look a little soft after a few days, just give it a quick whip, and it’ll be ready to go again!
Can I use low-fat cream instead?
While you can use low-fat cream, I wouldn’t recommend it for this recipe. The heavy cream’s higher fat content is what gives stabilized whipped cream its rich, creamy texture and stability. Low-fat cream might not whip up as well and could result in a less fluffy texture. If you’re looking to cut calories, maybe just enjoy a smaller portion of the good stuff instead!
What desserts can I use stabilized whipped cream with?
The possibilities are endless! I love using stabilized whipped cream to top off cakes, pies, and cupcakes—it really elevates any dessert. It’s also fantastic on a bowl of fresh fruit or as a filling for layered desserts like trifles. You can even use it in no-bake cheesecakes or mousse for an extra creamy finish. Basically, if it’s sweet, this whipped cream will make it even better!
Storage & Reheating Instructions
Storing your stabilized whipped cream is super simple! Just transfer any leftovers into an airtight container and pop it in the refrigerator. It can last up to a week, which is fantastic for those moments when you want to add a little sweetness to your desserts throughout the week. If you notice it starts to lose its fluffiness after a few days, just give it a quick whip with an electric mixer to revive that lovely texture!
Now, reheating isn’t necessary for stabilized whipped cream, as it’s meant to be served cold. So, just scoop it out as needed, and enjoy! However, if you do find it has settled a bit, a gentle re-whip should do the trick. Just be careful not to overdo it, or you might end up with butter—yikes! Keep it cool, and your whipped cream will be ready to impress whenever you need it!
Print
Stabilized Whipped Cream: 5 Steps to Perfect Nostalgic Topping
- Total Time: 12 minutes
- Yield: 2 cups
- Diet: Vegetarian
Description
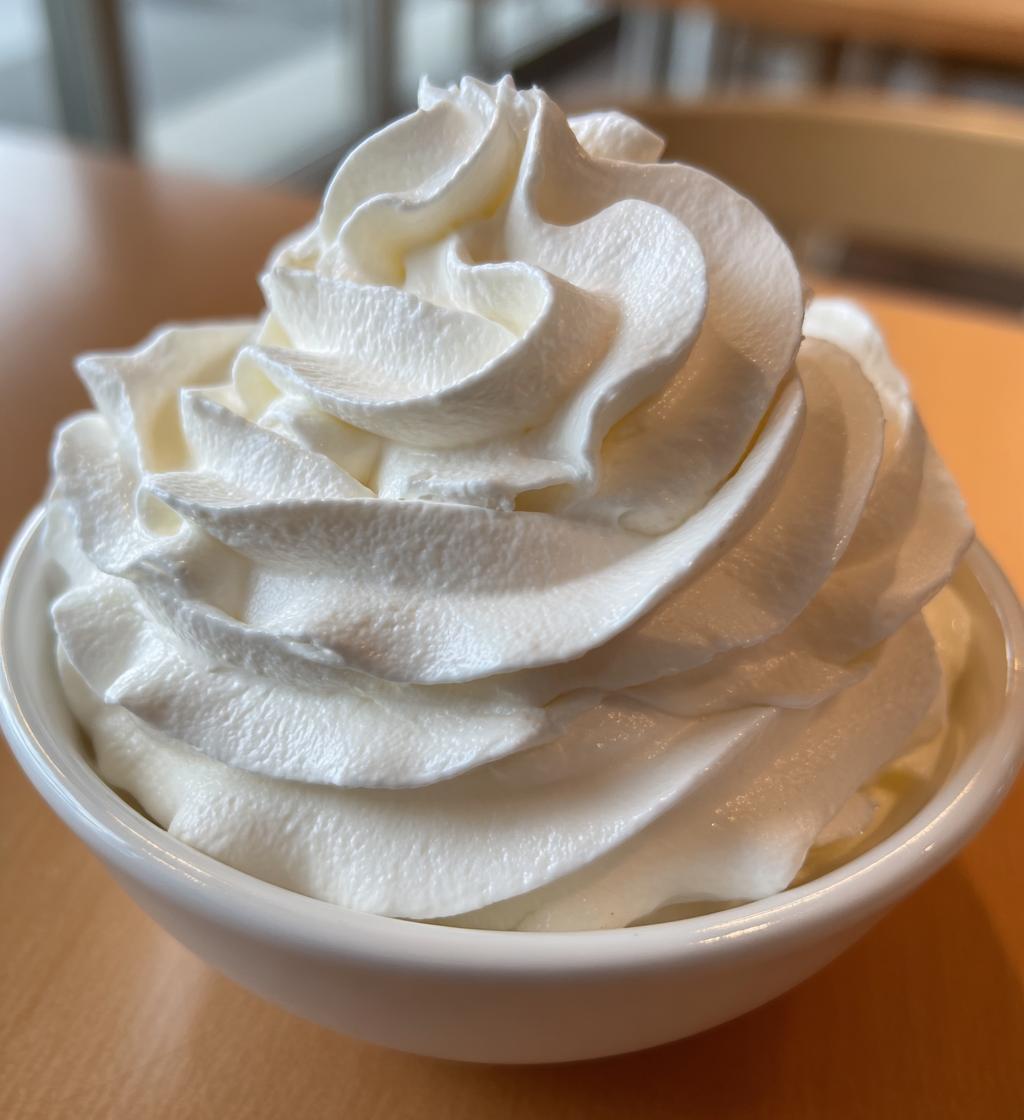
Stabilized whipped cream holds its shape longer than regular whipped cream.
Ingredients
- Heavy cream – 1 cup
- Powdered sugar – 2 tablespoons
- Vanilla extract – 1 teaspoon
- Gelatin – 1 teaspoon
- Cold water – 2 tablespoons
Instructions
- In a small bowl, sprinkle gelatin over cold water and let it sit for 5 minutes.
- Heat the gelatin mixture in the microwave until dissolved.
- In a mixing bowl, combine heavy cream, powdered sugar, and vanilla extract.
- Beat the mixture with an electric mixer until soft peaks form.
- Slowly add the gelatin mixture while continuing to beat until stiff peaks form.
- Use immediately or store in the refrigerator for later use.
Notes
- Use cold utensils for best results.
- Stabilized whipped cream can last up to a week in the fridge.
- Prep Time: 10 minutes
- Cook Time: 2 minutes
- Category: Dessert
- Method: Whipping
- Cuisine: American
Nutrition
- Serving Size: 2 tablespoons
- Calories: 50
- Sugar: 2g
- Sodium: 5mg
- Fat: 5g
- Saturated Fat: 3g
- Unsaturated Fat: 1g
- Trans Fat: 0g
- Carbohydrates: 1g
- Fiber: 0g
- Protein: 0g
- Cholesterol: 15mg
Keywords: stabilized whipped cream, whipped cream recipe, dessert topping