

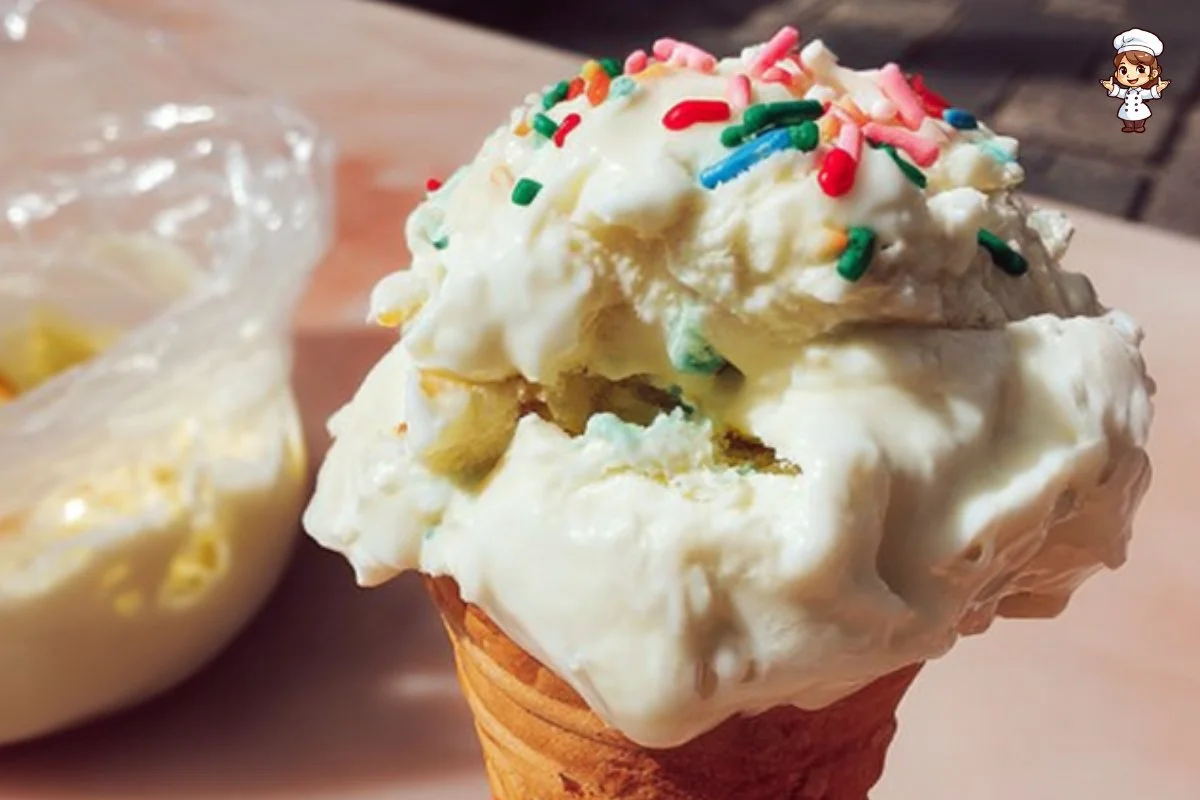
There’s nothing quite like the joy of indulging in homemade ice cream. Imagine a warm summer day, the sun shining brightly, and a scoop of delicious ice cream melting in your mouth. Homemade ice cream not only offers a fresh, creamy texture, but it also allows you to customize flavors and toppings to your liking. This delightful treat can be made in the comfort of your own kitchen with just a few simple ingredients and easy-to-follow steps. Whether you’re enjoying it on its own, in a cone, or paired with a slice of pie, homemade ice cream brings a smile to everyone’s face.
Making ice cream at home is a fun activity to do with family and friends. It only takes a few minutes of preparation and ten minutes of shaking to achieve a smooth, creamy consistency. The best part? You can create unique flavors by adding your favorite mix-ins or toppings. This recipe is a perfect starting point for anyone looking to dive into the world of homemade desserts.
Now let’s take a deeper look into the delightful creation of homemade ice cream!
Ingredients about Homemade Ice Cream
List of ingredients with measurements
- 1 cup half and half
- 2 tablespoons granulated sugar
- 1/2 teaspoon pure vanilla extract
- 3 cups ice
- 1/3 cup kosher salt
- Toppings of your choice (e.g., chocolate chips, sprinkles, fruits)
Optional ingredient substitutions
If you are looking for alternatives, you can use whole milk instead of half and half for a lighter version. For a dairy-free option, try using coconut milk or almond milk. Instead of granulated sugar, you can replace it with honey or maple syrup for a natural sweetener. Vanilla extract can be substituted with any flavored extract, such as almond or mint, for a twist on the classic flavor.


How to Make Homemade Ice Cream
Step 1: Detailed instruction
Start by preparing your small resealable plastic bag. In it, combine 1 cup of half and half, 2 tablespoons of granulated sugar, and 1/2 teaspoon of pure vanilla extract. Make sure to mix the ingredients thoroughly inside the bag. Once mixed, press out any excess air to maximize space and ensure even freezing. Seal the bag tightly to prevent any leaks during shaking.
Step 2: Detailed instruction
Now, take a large resealable plastic bag and fill it with 3 cups of ice. Then, add 1/3 cup of kosher salt to the ice. The salt is crucial because it helps lower the freezing point of the ice, making it colder, which further aids in the freezing of the ice cream mixture. Place the small bag (with the ice cream ingredients) inside the larger bag filled with ice and salt. Make sure it’s positioned well and closes the larger bag tightly.
Step 3: Detailed instruction
Time to start shaking! Grab your bag and shake it vigorously for about 7 to 10 minutes. Keep shaking as you chat or dance around—this is the fun part! You should feel the small bag getting colder as the ice and salt work together to freeze the mixture inside. Keep going until you notice the ice cream has hardened to your desired consistency.
Step 4: Detailed instruction
After shaking, carefully remove the small bag from the larger bag, ensuring that no ice or salt gets into your ice cream mixture. Open it up carefully, and you’ll find a smooth, creamy delight waiting for you. If you like, you can scoop the ice cream into bowls or cones and add your favorite toppings. Enjoy your creation right away for the best experience!
How to Serve Homemade Ice Cream
Best ways to serve Homemade Ice Cream
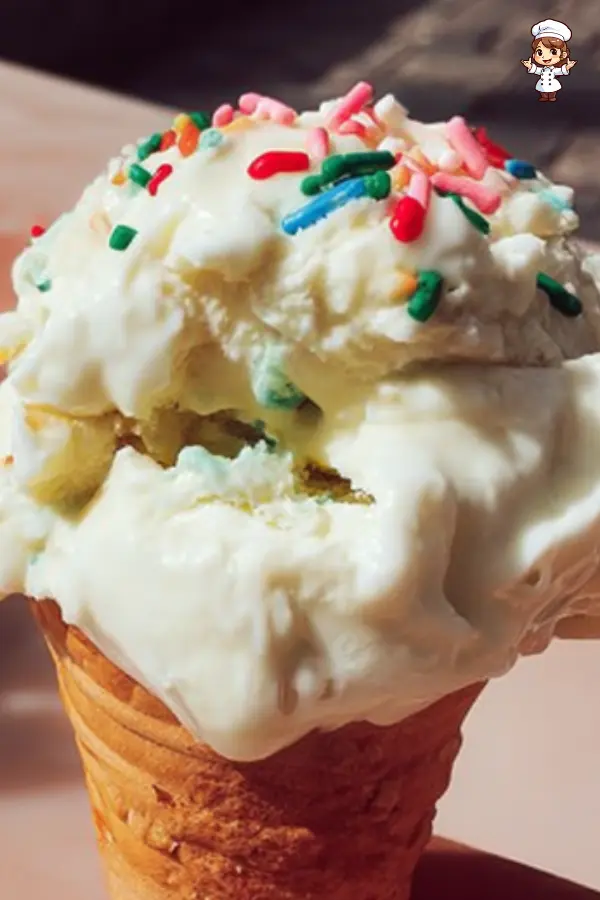
Serve your homemade ice cream just as it is, or get creative with its presentation. You can use classic ice cream cones, waffle bowls, or simply serve it in decorative bowls. If you’re feeling fancy, you could layer the ice cream in a parfait glass with toppings in between each layer for a visually appealing dessert.
Serving suggestions or pairings
For added deliciousness, consider pairing your ice cream with warm desserts. A slice of pie or a chocolate brownie can beautifully complement the cold creaminess of the ice cream. Drizzling some hot fudge or caramel sauce over the top can elevate your serving even further. Don’t forget fresh fruits or nuts to enhance the flavors and textures.
How to Store Homemade Ice Cream
Proper storage methods
If you have any leftover ice cream, you can store it in an airtight container in the freezer. Make sure to cover it tightly to avoid freezer burn. It’s best to consume the ice cream within a week for optimal taste and texture.
Tips for reheating or freezing
Homemade ice cream is best enjoyed fresh, but if you need to store it longer, keep it frozen. If it becomes too hard after freezing, let it sit out at room temperature for a few minutes before scooping. This softens the ice cream slightly and makes it easier to scoop.
Tips to Make Homemade Ice Cream
Common mistakes to avoid
One common mistake is not sealing the bags properly, which can lead to a watery mixture. Make sure your bags are tightly sealed. Also, avoid adding too much salt, as it can make the mixture overly salty. Adjust the salt according to taste, as it primarily functions to lower the freezing temperature.
Helpful tips for better results
If you want an even creamier texture, you can substitute some of the half and half with heavy cream. Also, be persistent with the shaking; properly mixing the ingredients ensures an even consistency. Try adding your mix-ins, like chocolate chips or cookie crumbs, in the last minute of shaking for the ultimate treat!
Variation of Homemade Ice Cream
Suggested variations or twists on the recipe
Feeling adventurous? You can try adding chocolate syrup or fruit puree into the mixture before sealing it up for a flavor twist. Incorporate different flavors by using different extracts or adding cocoa powder for chocolate ice cream. You might also consider making a coffee-flavored ice cream by adding instant coffee granules to the mixture.
Adjustments for dietary preferences
For those with dietary restrictions, feel free to use lactose-free milk for a similar creamy texture. If watching sugar intake, consider using a sugar substitute that works for baking. Vegan options are accessible by using plant-based milks and avoiding any dairy in toppings as well.
FAQs
What can I do if the dish isn’t turning out right?
If your homemade ice cream is not thickening, you may not have shaken it long enough or the temperature may not have been cold enough. The ice and salt are key ingredients to freezing, so check that the ice was adequate and that the small bag was properly sealed.
Can I make this ahead of time?
Yes, you can prepare the base ahead of time. Mix the half and half, sugar, and vanilla, and refrigerate until you’re ready to make the ice cream. However, it’s best served fresh for the best texture and flavor.
What can I substitute for ingredients?
You can replace half and half with whole milk or coconut milk for a dairy-free option. Granulated sugar can be substituted with honey, agave syrup, or any other sweeteners. You can also add other flavors by experimenting with different extracts or incorporating fruits and chocolate.
Homemade ice cream is not just a dessert; it’s an experience. From preparing the ingredients to indulging in its creamy goodness, this sweet treat brings joy to any occasion. So gather your family and friends, and get ready to shake up some delightful ice cream memories!
Print
Homemade Ice Cream
- Total Time: 15 minutes
- Yield: Approximately 1 cup of ice cream 1x
- Diet: Vegetarian
Description
A simple and fun homemade ice cream recipe using basic ingredients, perfect for a creamy and customizable summer dessert.
Ingredients
- 1 cup half and half
- 2 tablespoons granulated sugar
- 1/2 teaspoon pure vanilla extract
- 3 cups ice
- 1/3 cup kosher salt
- Toppings of your choice (e.g., chocolate chips, sprinkles, fruits)
Instructions
- Combine half and half, sugar, and vanilla extract in a small resealable plastic bag, mix well, and remove excess air. Seal tightly.
- Fill a large resealable plastic bag with ice and kosher salt. Place the small bag inside and seal the large bag tightly.
- Shake the bags vigorously for 7 to 10 minutes until the mixture inside thickens to ice cream consistency.
- Carefully remove the small bag, open it, and serve the ice cream with your favorite toppings.
Latest Amazon Finds


Notes
- Ensure bags are tightly sealed to prevent leaks and watery mixture.
- Do not add too much salt; it only lowers freezing point.
- For creamier texture, substitute some half and half with heavy cream.
- Shake continuously for even consistency.
- Prep Time: 5 minutes
- Cook Time: 10 minutes (shaking time)
- Category: Dessert
- Method: No-churn ice cream, shaking method
- Cuisine: American
Nutrition
- Serving Size: 1/2 cup
- Calories: 150
- Sugar: 12g
- Sodium: 100mg
- Fat: 8g
- Saturated Fat: 5g
- Unsaturated Fat: 2g
- Trans Fat: 0g
- Carbohydrates: 15g
- Fiber: 0g
- Protein: 2g
- Cholesterol: 35mg
Keywords: homemade ice cream, easy ice cream recipe, no-churn ice cream, DIY ice cream, creamy summer dessert