

Making homemade ice cream is a delightful experience that many people cherish. It brings back memories of summers spent with family and friends, gathering around a bowl of creamy goodness. The beauty of homemade ice cream lies not just in its taste, but also in its simplicity and versatility. When you create it yourself, you have the freedom to choose your flavors, adjust sweetness, and control the texture. Using fresh, high-quality ingredients makes all the difference. Plus, there’s nothing quite like scooping freshly made ice cream straight from your own freezer.
This homemade ice cream recipe is incredibly easy to follow and requires only a few basic ingredients. With heavy cream, whole milk, cane sugar, and a hint of vanilla extract, the flavor is rich and satisfying. You can customize it to your liking or enjoy it as is. Making ice cream at home is not only enjoyable; it can also become a fun activity to share with friends and family. So roll up your sleeves, grab your ice cream maker, and let’s get started!
Ingredients about Homemade Ice Cream
Here’s what you need to whip up your own delicious homemade ice cream:
List of ingredients with measurements
- 1 1/2 cups heavy cream
- 1 1/2 cups whole milk
- 2/3 cup cane sugar
- 2 teaspoons vanilla extract
- 1/8 teaspoon sea salt
Optional ingredient substitutions
You can make some simple swaps if you don’t have specific ingredients on hand. Instead of heavy cream, you can use half-and-half for a lighter version, although it may not be as creamy. For dairy-free options, consider using coconut cream or almond milk to replace the cream and milk. Instead of cane sugar, you can utilize agave nectar or honey, keeping in mind that these will alter the flavor slightly. Enjoy experimenting with various substitutes to discover your perfect mix!


How to Make Homemade Ice Cream
Making homemade ice cream is a straightforward process that takes just a few steps. Here’s a detailed guide to help you create the perfect ice cream at home!
Step 1: Warm the Mixture
In a medium saucepan, combine the heavy cream, whole milk, cane sugar, vanilla extract, and sea salt. Place the saucepan over medium-low heat. While the mixture warms, whisk it frequently for about five minutes. This will help dissolve the sugar and warm the mixture without boiling it.
Step 2: Chill the Base
After the mixture is warmed and the sugar is dissolved, remove it from the heat. Pour the mixture into a heatproof bowl. Cover the bowl with plastic wrap or a lid and place it in the refrigerator to chill. Let it sit for at least two hours, but if you have time, letting it chill overnight will enhance the flavor and texture.
Step 3: Whisk After Chilling
Once your ice cream base has chilled, take it out of the refrigerator. Give it a good whisk to ensure everything is well combined. This will also help to break up any small chunks of sugar that may have settled while chilling.
Step 4: Churn the Ice Cream
Now it’s time to churn the mixture in your ice cream maker! Follow the manufacturer’s instructions for your specific machine. Generally, you will pour the chilled base into the ice cream maker and churn it for about 20 to 30 minutes. The ice cream will become soft and creamy during this process.
Step 5: Freeze for Firmness
After churning, the ice cream will be soft-serve texture. For firmer ice cream, transfer it to an airtight container. Seal it up and place it in the freezer for about 2 to 4 hours. This allows it to firm up to your desired consistency.
Step 6: Enjoy
When you’re ready to enjoy your homemade ice cream, scoop it out! If you find it too hard to scoop directly from the freezer, let it sit at room temperature for a few minutes to soften.
How to Serve Homemade Ice Cream
The presentation and serving of your homemade ice cream can enhance the overall experience. Here are some great ways to serve it and make it special!
Best ways to serve Homemade Ice Cream
You can serve homemade ice cream in various ways. Consider using ice cream cones, bowls, or even cups. If you want to impress guests, you can create an ice cream sundae bar, complete with various toppings like chocolate syrup, sprinkles, nuts, and whipped cream.
Serving suggestions or pairings
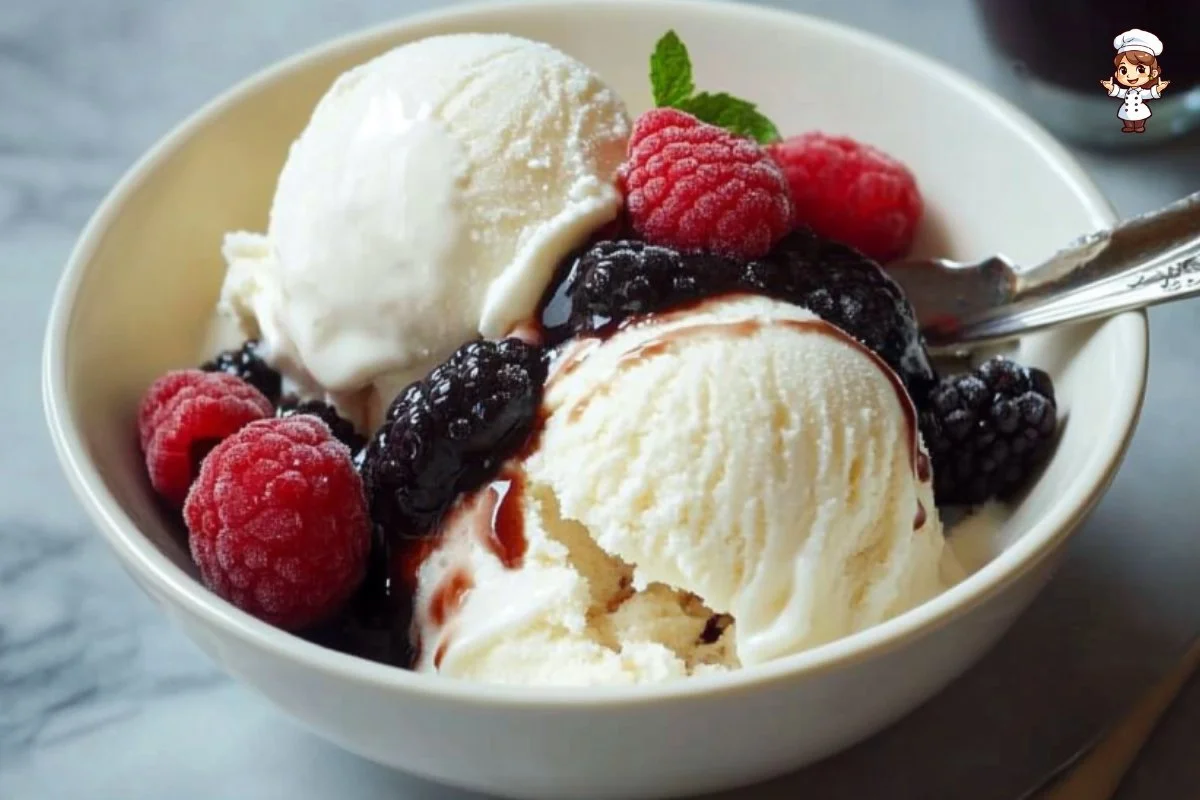
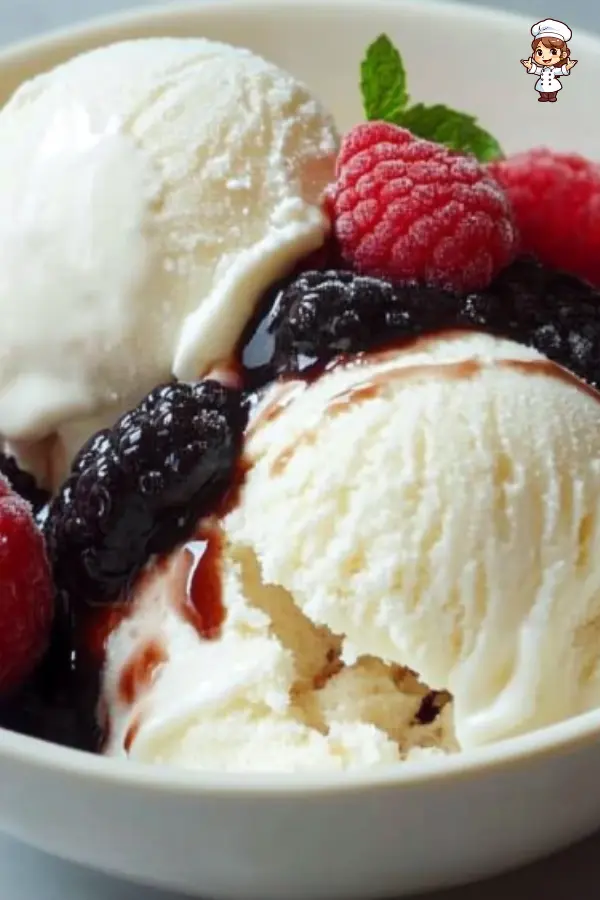
Homemade ice cream pairs wonderfully with desserts like brownies, pies, or cakes. A scoop of vanilla ice cream on a warm slice of apple pie is a classic choice. You can also layer it with fresh fruits like strawberries or bananas for a refreshing treat. For a more decadent experience, drizzle some caramel or chocolate sauce on top.
How to Store Homemade Ice Cream
Properly storing your homemade ice cream ensures it remains fresh and delicious for weeks. Here’s how to do it right.
Proper storage methods
After you’ve made the ice cream, transfer it to an airtight container to keep it fresh. Make sure to press a piece of parchment paper directly on the surface of the ice cream before sealing the container. This helps to prevent ice crystals from forming and keeps the texture smooth.
Tips for reheating or freezing
If you want to enjoy your ice cream weeks later, it can last in the freezer for up to a month. If you find your ice cream too hard to scoop, allow it to sit out at room temperature for a few minutes before trying to scoop again. Never refreeze melted ice cream, as it can affect the texture and flavor.
Tips to Make Homemade Ice Cream
Creating great homemade ice cream can be an art! Here are some common mistakes to avoid and tips for better results.
Common mistakes to avoid
One mistake to avoid is not adequately chilling your base before churning. A warm mixture will not churn properly and will lead to a grainy texture. Make sure to fully dissolve the sugar in the cream and milk mixture as any undissolved sugar can lead to unwanted crunchiness in your ice cream.
Helpful tips for better results
For the best results, use high-quality ingredients. Opt for pure vanilla extract instead of synthetic vanilla for richer flavor. Keep everything you’re using (like bowls and beaters) as cold as possible before starting—it can help with the churning process. Adding a pinch of alcohol (like vodka) to the mixture can improve the scoopability of your ice cream, as it lowers the freezing point without altering the taste.
Variation of Homemade Ice Cream
There are endless possibilities when it comes to customizing your homemade ice cream. Let’s explore some suggested variations and adjustments for dietary preferences.
Suggested variations or twists on the recipe
Feel free to get creative with flavors! You can infuse your cream with fresh mint, coffee, or spices like cinnamon for a unique twist. For fruit flavors, blend fresh fruits into the mixture or fold in fruit purees before churning. You can also mix in cookie crumbles, chocolate chips, or nutty ingredients for added texture.
Adjustments for dietary preferences
For those with dietary restrictions, you can alter this base recipe further. Consider using full-fat coconut milk for a dairy-free version. If you want a lower-calorie option, use a sweetener like stevia or erythritol instead of cane sugar. Adjust your ingredients to suit vegan diets, using plant-based milks and creams for a delicious treat everyone can enjoy.
FAQs
People often have common questions about making homemade ice cream. Here are some answers to help you troubleshoot and maximize your ice cream experience.
What can I do if the dish isn’t turning out right?
If your ice cream isn’t coming together or is icy, it could be due to insufficient churning time or not enough sugar in the base. Make sure to follow the timing in your ice cream maker’s instructions and ensure the sugar is dissolved completely before chilling.
Can I make this ahead of time?
Absolutely! You can prepare the ice cream base a day or two in advance and store it in the refrigerator until you’re ready to churn it. Once churned, you can freeze it for later use, allowing you to have a delicious treat ready whenever you like.
What can I substitute for ingredients?
If you don’t have cane sugar, you can use other sweeteners like brown sugar or coconut sugar. If heavy cream is unavailable, use half-and-half or a dairy alternative like coconut cream. Vanilla extract can be replaced with an equal amount of vanilla bean paste or fresh vanilla beans scraped directly from the pod for a lovely touch.
Homemade ice cream is not just a tasty treat; it’s an opportunity to explore flavors, share moments with loved ones, and create something delightful from scratch. Whether you stick with the classic vanilla or venture into bold new flavor combinations, this recipe provides a fantastic base for endless delicious possibilities. Enjoy the process of crafting your ice cream—happy churning!
Print
Homemade Ice Cream
- Total Time: 6 hours (including chilling and freezing)
- Yield: 1 quart (about 6 servings) 1x
- Diet: Vegetarian
Description
This classic homemade ice cream recipe is a creamy, rich, and customizable frozen treat made with just five simple ingredients. It’s perfect for enjoying on its own or paired with other desserts, and it’s easy to adapt for different dietary preferences.
Ingredients
- 1 1/2 cups heavy cream
- 1 1/2 cups whole milk
- 2/3 cup cane sugar
- 2 teaspoons vanilla extract
- 1/8 teaspoon sea salt
Instructions
- In a medium saucepan, combine heavy cream, whole milk, cane sugar, vanilla extract, and sea salt. Warm over medium-low heat, whisking frequently for about 5 minutes until the sugar dissolves. Do not boil.
- Remove from heat and pour the mixture into a heatproof bowl. Cover and refrigerate for at least 2 hours, or overnight for best results.
- After chilling, whisk the mixture to ensure everything is well combined and smooth.
- Pour the chilled mixture into your ice cream maker and churn according to manufacturer’s instructions, usually 20 to 30 minutes, until thick and creamy.
- Transfer the churned ice cream to an airtight container. Cover and freeze for 2 to 4 hours for a firmer texture.
- Scoop and serve. Let the ice cream sit at room temperature for a few minutes if it’s too hard to scoop straight from the freezer.
Latest Amazon Finds


Notes
- Chill the base thoroughly before churning for the best texture.
- Use high-quality ingredients for maximum flavor.
- Add mix-ins like chocolate chips or fruit after churning but before freezing for variety.
- Store with parchment pressed against the surface to prevent ice crystals.
- Prep Time: 15 minutes
- Cook Time: 5 minutes
- Category: Dessert
- Method: Churned
- Cuisine: American
Nutrition
- Serving Size: 1/2 cup
- Calories: 210
- Sugar: 18g
- Sodium: 45mg
- Fat: 14g
- Saturated Fat: 9g
- Unsaturated Fat: 4g
- Trans Fat: 0g
- Carbohydrates: 20g
- Fiber: 0g
- Protein: 2g
- Cholesterol: 55mg
Keywords: homemade ice cream, vanilla ice cream, churned ice cream, summer dessert, classic ice cream, creamy treat