

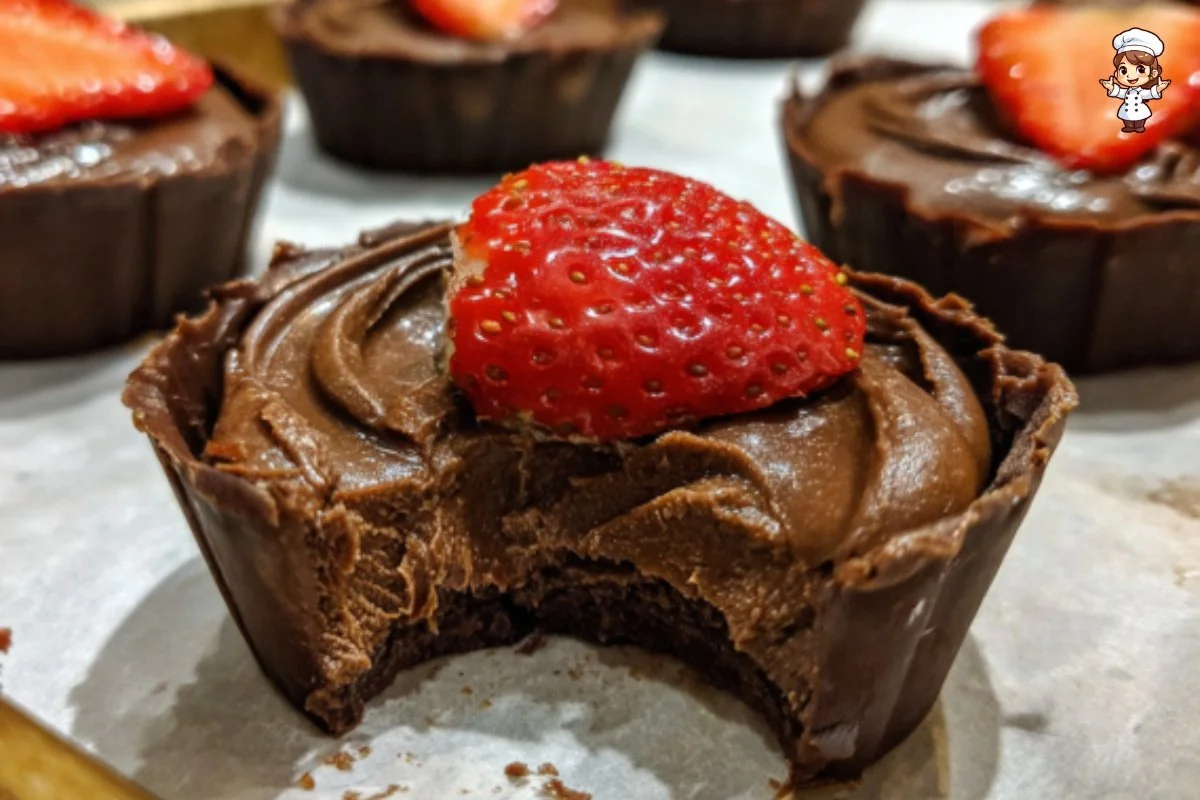
Chocolate mousse cups are a delightful treat that combines the rich, creamy goodness of chocolate mousse with an indulgent chocolate shell. These little cups are perfect for any occasion, from casual dinners to impressive gatherings. With their elegant appearance and luscious flavor, chocolate mousse cups not only satisfy your sweet tooth but also bring a touch of sophistication to your dessert table. They are light yet decadent, with a melt-in-your-mouth texture that will leave your taste buds yearning for more. Each bite delivers a perfect combination of smooth mousse and crunchy chocolate.
The versatility of chocolate mousse cups also allows for various toppings and decorations, making them a fun and interactive dessert that you can customize to suit your tastes. Whether you wish to add fresh fruit, whipped cream, or a sprinkle of nuts, the possibilities are endless. These cups are also easy to prepare, requiring only a few simple ingredients and steps, making them accessible even for novice bakers.
Now, let’s dive deeper into the specifics of this delightful dessert!
Ingredients about Chocolate Mousse Cups
List of ingredients with measurements
To make your chocolate mousse cups, you will need the following ingredients:
- 2 cups chocolate chips for shells
- 1 1/2 tablespoons coconut oil
- 1 1/2 cups chocolate chips for mousse filling
- 2 cups heavy cream
- 2/3 cup powdered sugar
- Sliced strawberries for serving
Optional ingredient substitutions
If you’re looking to switch things up or have dietary requirements, consider these substitutions:
- Instead of chocolate chips, you can use chocolate bars, chopped into smaller pieces for both the shells and mousse.
- Coconut oil can be replaced with vegetable oil or butter if you prefer a different flavor profile or texture.
- If you wish to lower the sweetness, reduce the amount of powdered sugar in the mousse.
- For a dairy-free version, use coconut cream instead of heavy cream for the mousse filling.


How to Make Chocolate Mousse Cups
Step 1: Detailed instruction
Start by lining a muffin tin with cupcake liners. This will create the shell for your chocolate mousse cups. The liners should be sturdy enough to hold up once the chocolate sets. In a microwave-safe bowl, combine the chocolate chips and coconut oil. Heat gently in the microwave using 30-second intervals, stirring in between until everything is melted and smooth. Once melted, let the mixture cool for about five minutes before using it to avoid melting the cupcake liners.
Step 2: Detailed instruction
Next, carefully spoon about 1 1/2 tablespoons of the melted chocolate into each cupcake liner. To create an even coating, gently tilt the muffin tin, allowing the chocolate to spread and coat the bottom and sides of each liner, reaching about two-thirds of the way up. Once all the liners are filled, place the muffin tin in the refrigerator and allow the chocolate to harden for about one hour. This cooling process is crucial as it helps to form a sturdy shell for your mousse.
Step 3: Detailed instruction
While your chocolate shells are cooling, it’s time to prepare the mousse filling. In another microwave-safe bowl, melt the remaining chocolate chips using the same 30-second intervals method, stirring until completely smooth. After melting, let the chocolate cool slightly. This step is essential as adding hot chocolate to cream might cause it to curdle.
Step 4: Detailed instruction
In a separate medium bowl, pour in the heavy cream and powdered sugar. Using a hand mixer, beat the mixture until it reaches stiff peaks. This process typically takes about 2-3 minutes. Gently fold in about 2 tablespoons of the cooled chocolate into the whipped cream to incorporate the two mixtures without deflating the whipped cream. Then, slowly fold in the rest of the melted chocolate until just combined. Once your mousse is ready, place it in the refrigerator for an hour to set.
Step 5: Detailed instruction
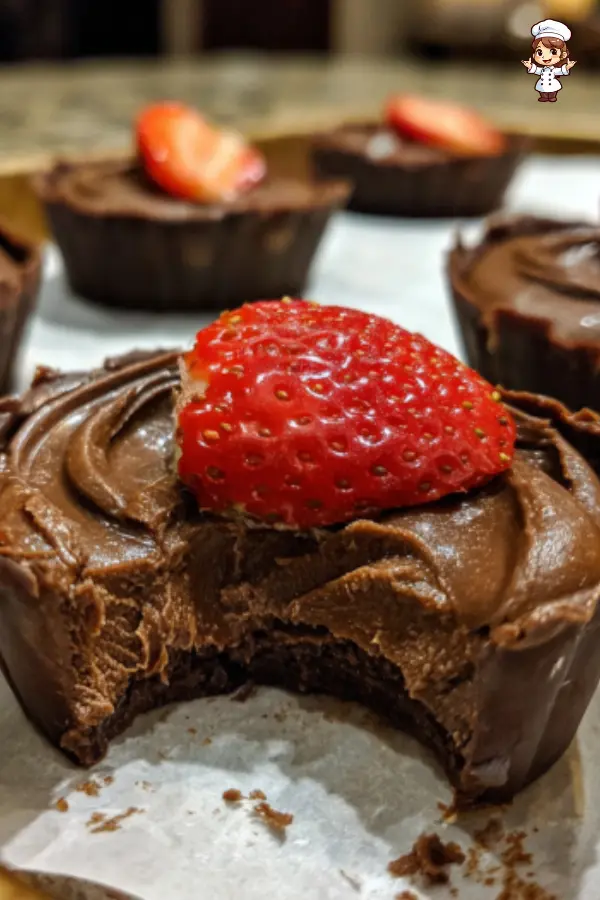
Once the chocolate has completely hardened in the refrigerator, carefully unwrap the chocolate cups from the liners. This process should be done gently to avoid breaking the chocolate shell. After unwrapping, transfer the mousse mixture into a piping bag fitted with an open star tip. Pipe the mousse into each chocolate cup, filling them generously. For the finishing touch, garnish each cup with a slice of fresh strawberry. Refrigerate once more until you’re ready to serve!
How to Serve Chocolate Mousse Cups
Best ways to serve Chocolate Mousse Cups
When serving chocolate mousse cups, presentation is key! Arrange the cups on a beautiful platter or cake stand to create an appealing dessert display. You can also add extra garnishes like fresh mint leaves, a drizzle of chocolate sauce, or colorful sprinkles to liven up the presentation. Serve them chilled to ensure every bite is as delightful as the first.
Serving suggestions or pairings
These chocolate mousse cups are fantastic on their own, but you can elevate the experience by pairing them with other treats. Consider serving them alongside a scoop of vanilla ice cream or a warm chocolate cake for a delightful contrast in textures. A cup of rich coffee or a glass of dessert wine can also complement the dessert beautifully. Finally, for a refreshing touch, consider offering a berry compote to drizzle over the mousse, enhancing the flavor with a burst of fruity goodness.
How to Store Chocolate Mousse Cups
Proper storage methods
To keep your chocolate mousse cups fresh, store them in an airtight container in the refrigerator. They can stay fresh for up to 3-4 days. Ensure that the container is properly sealed to prevent any absorption of surrounding odors.
Tips for reheating or freezing
Chocolate mousse cups are best enjoyed fresh and chilled. However, if you find yourself with leftovers, you can simply keep them in the refrigerator. Avoid freezing, as the mousse may separate and lose its creamy texture when thawed. If you prefer to make these cups in advance, prepare the chocolate shells and mousse filling, then assemble the cups just before serving for the best flavor and texture.
Tips to Make Chocolate Mousse Cups
Common mistakes to avoid
One common mistake is overheating the chocolate when melting. It is crucial to melt the chocolate in short intervals to avoid seizing or burning, which ruins the pleasant texture. Additionally, be careful not to overmix the whipped cream when folding in the chocolate. You want to maintain the light, airy texture, which gives the mousse its unique mouthfeel.
Helpful tips for better results
For extra indulgence, consider using high-quality chocolate chips or bars for both the mousse and the shell. This choice can significantly enhance the flavor. If you desire a richer mousse, try incorporating a splash of coffee or espresso powder to deepen the chocolate flavor. When piping the mousse, use a piping bag to control the amount, ensuring each cup has a consistent and elegant finish.
Variation of Chocolate Mousse Cups
Suggested variations or twists on the recipe
While the traditional chocolate mousse cups are delicious, there are numerous variations to try. For a different flavor, consider adding orange or peppermint extract to the mousse for a festive twist. You can also incorporate a layer of fruit puree at the bottom of the cup before adding the mousse to create an exciting flavor contrast.
Adjustments for dietary preferences
If you’re looking for ways to adapt the recipe for specific dietary preferences, several substitutions can be made. For a gluten-free version, ensure that the chocolate used is certified gluten-free. You can also use dairy-free chocolate and coconut cream to create a vegan version of these delightful cups. Experimenting with alternative sweeteners like agave nectar or stevia can help make this dessert suitable for those watching their sugar intake.
FAQs
What can I do if the dish isn’t turning out right?
If your chocolate mousse cups aren’t turning out as you expected, double-check your measurements and cooking times. Properly melting chocolate without burning it is crucial for a smooth finish. If the mousse is not thickening, ensure that the cream has been whipped to stiff peaks; you may need to whip it longer. Lastly, ensure you’re folding the mixtures gently to keep airiness.
Can I make this ahead of time?
Yes! The chocolate shell can be made a few days in advance and stored in the refrigerator. The mousse filling can also be prepared ahead of time, making it convenient for dinner parties or special gatherings. Just keep in mind that the cups should be assembled shortly before serving for the best texture and taste.
What can I substitute for ingredients?
If you need to make substitutions, several options are available. Use different types of chocolate, like dark, milk, or white chocolate, depending on your preference. You can replace heavy cream with whipped coconut cream for a lighter option. For sweeteners, options like maple syrup or honey can be used instead of powdered sugar, but be aware that it may alter the consistency of the mousse slightly.
By following the above instructions, you can create your very own chocolate mousse cups that are not only delicious but also visually stunning. Enjoy the process and the end result, and don’t forget to share your delightful creations with friends and family for a truly memorable dessert experience!
Print
Chocolate Mousse Cups
- Total Time: 1 hour 35 minutes (including chilling time)
- Yield: 12 mousse cups 1x
- Diet: Vegetarian
Description
Chocolate Mousse Cups are an elegant and decadent dessert featuring creamy chocolate mousse piped into crisp chocolate shells, perfect for any occasion.
Ingredients
- 2 cups chocolate chips (for shells)
- 1 1/2 tablespoons coconut oil
- 1 1/2 cups chocolate chips (for mousse filling)
- 2 cups heavy cream
- 2/3 cup powdered sugar
- Sliced strawberries, for garnish
Instructions
- Line a muffin tin with cupcake liners to prepare the chocolate shells.
- In a microwave-safe bowl, melt 2 cups of chocolate chips with coconut oil in 30-second intervals, stirring until smooth. Let cool for 5 minutes.
- Spoon about 1 1/2 tablespoons of the melted chocolate into each liner, tilting to coat the bottom and sides. Refrigerate for 1 hour to set.
- Melt the remaining 1 1/2 cups of chocolate chips in a microwave-safe bowl using the same method. Let cool slightly.
- In a separate bowl, beat heavy cream and powdered sugar with a hand mixer until stiff peaks form.
- Fold 2 tablespoons of cooled chocolate into the whipped cream to temper, then gently fold in the rest until fully combined. Chill for 1 hour to set.
- Carefully remove the chocolate shells from the liners.
- Transfer the mousse to a piping bag with a star tip and pipe into each chocolate cup.
- Garnish with sliced strawberries and chill until ready to serve.
Latest Amazon Finds


Notes
- Do not overheat the chocolate; melt in short bursts and stir frequently.
- Use high-quality chocolate for best flavor.
- Let melted chocolate cool slightly before adding to cream to avoid curdling.
- For variation, add orange or peppermint extract to the mousse.
- Make shells and mousse ahead of time, but assemble just before serving.
- Prep Time: 30 minutes
- Cook Time: 5 minutes
- Category: Dessert
- Method: No-bake
- Cuisine: American
Nutrition
- Serving Size: 1 mousse cup
- Calories: 310
- Sugar: 22g
- Sodium: 30mg
- Fat: 23g
- Saturated Fat: 14g
- Unsaturated Fat: 8g
- Trans Fat: 0g
- Carbohydrates: 28g
- Fiber: 2g
- Protein: 3g
- Cholesterol: 45mg
Keywords: Chocolate Mousse Cups, chocolate dessert cups, mousse in chocolate shell, mini chocolate mousse treats, easy mousse cup recipe