

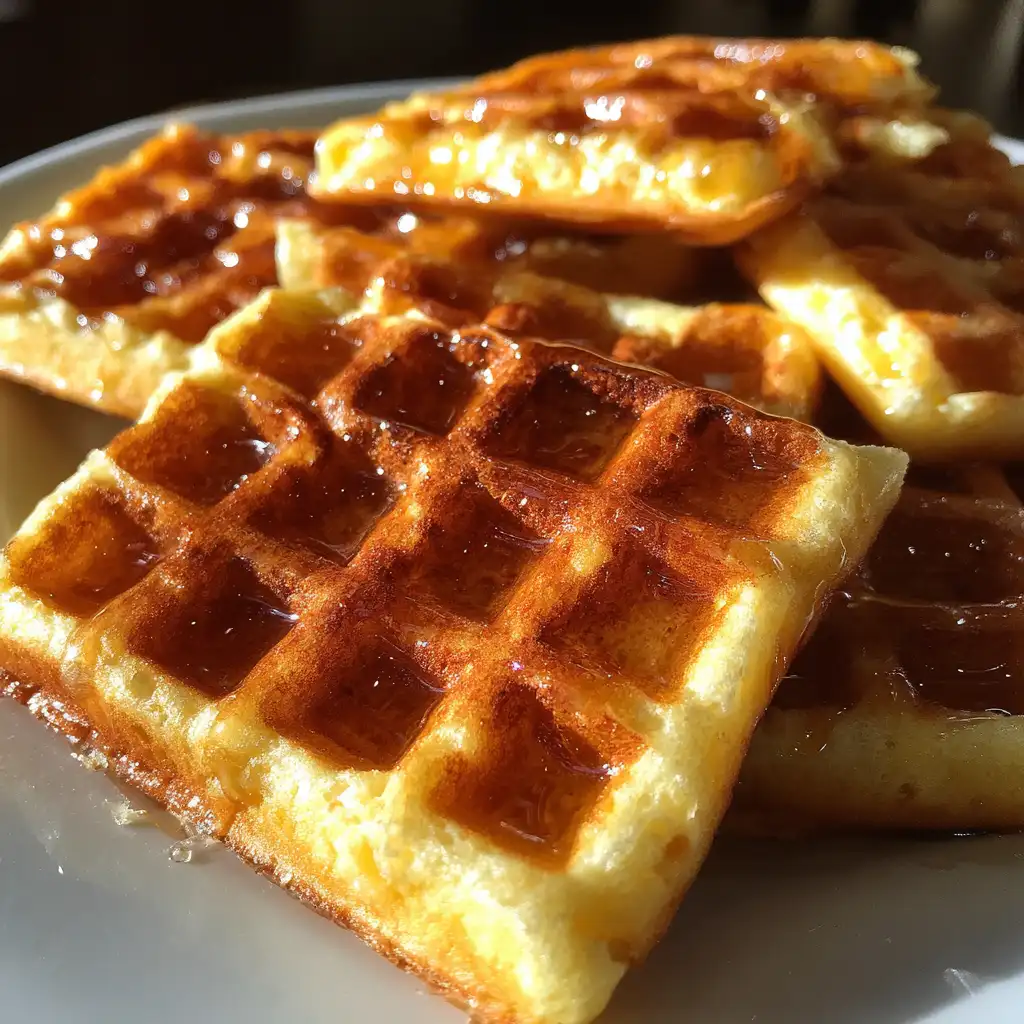
Buttermilk waffles are a delightful breakfast treat that can brighten any morning. Their fluffy texture and crispy edges make them a favorite for many. Whether you enjoy them on a lazy Sunday or as a quick weekday breakfast, this buttermilk waffles recipe is sure to impress. With just a few simple ingredients, you can create a delicious meal that everyone will love.
What Makes Buttermilk Waffles Special?
So, what sets buttermilk waffles apart from regular waffles? The secret lies in the buttermilk itself. This tangy ingredient adds a unique flavor and helps create a light, airy texture. When combined with baking soda, buttermilk reacts to produce bubbles, making the waffles rise beautifully. This results in a crispy exterior and a soft, fluffy interior that melts in your mouth.
Moreover, buttermilk waffles are incredibly versatile. You can enjoy them plain or dress them up with various toppings. From fresh fruits to whipped cream, the options are endless. Plus, they are easy to make, making them perfect for both novice cooks and seasoned chefs alike.
In this article, we will guide you through the buttermilk waffles recipe step by step. You’ll learn about the essential ingredients, preparation methods, and tips to ensure your waffles turn out perfectly every time. Get ready to whip up a batch of these scrumptious waffles that will have everyone asking for seconds!
Ingredients for Buttermilk Waffles Recipe
Essential Ingredients for the Perfect Waffle
To create the best buttermilk waffles, you need a few key ingredients. Each one plays a vital role in achieving that perfect texture and flavor. Here’s what you’ll need:
- All-purpose flour: 2 cups (240 g) provide the base for your waffles, giving them structure.
- Buttermilk: 2 cups (480 ml) is the star ingredient, adding moisture and a tangy flavor.
- Eggs: 2 large eggs help bind the ingredients together and add richness.
- Sugar: 2 tablespoons (25 g) sweeten the batter just enough for a delightful taste.
- Baking powder: 1 tablespoon (15 g) gives the waffles their lift, making them fluffy.
- Baking soda: 1 teaspoon (5 g) works with the buttermilk to create a light texture.
- Salt: 1/2 teaspoon (3 g) enhances the flavors of the other ingredients.
- Melted butter: 1/2 cup (115 g) adds richness and helps achieve a crispy exterior.
These essential ingredients come together to create a delicious base for your waffles. Each component is important, so be sure to measure accurately for the best results.
Optional Ingredients to Enhance Your Buttermilk Waffles
While the essential ingredients are crucial, you can also add some optional ingredients to elevate your buttermilk waffles. Here are a few ideas:
- Vanilla extract: Adding 1 teaspoon of vanilla extract to the wet ingredients can enhance the flavor.
- Cinnamon: A sprinkle of ground cinnamon can add warmth and spice to your waffles.
- Chocolate chips: Fold in some chocolate chips for a sweet surprise in every bite.
- Fresh fruits: Incorporate mashed bananas or blueberries into the batter for added flavor and nutrition.
- Nuts: Chopped walnuts or pecans can add a delightful crunch to your waffles.
Feel free to mix and match these optional ingredients to create your perfect buttermilk waffles. The possibilities are endless, and you can customize them to suit your taste!


Step-by-Step Preparation of Buttermilk Waffles Recipe
Step 1: Prepping Your Waffle Iron
Before you start mixing your ingredients, it’s important to prep your waffle iron. First, plug it in and set it to the desired temperature. Most waffle irons have a light that indicates when they are ready. If your model requires greasing, use a brush to apply a thin layer of melted butter. This will help prevent the waffles from sticking and ensure a crispy finish.
Step 2: Mixing Dry Ingredients
Next, grab a large mixing bowl. In this bowl, combine the all-purpose flour, sugar, baking powder, baking soda, and salt. Use a whisk to mix these dry ingredients thoroughly. This step is crucial as it ensures that the leavening agents are evenly distributed throughout the flour. A well-mixed dry mixture leads to uniform waffles that rise perfectly.
Step 3: Combining Wet Ingredients
In a separate bowl, it’s time to mix the wet ingredients. Start by whisking together the buttermilk, eggs, and melted butter. Make sure the butter is not too hot, as it can cook the eggs. Whisk until the mixture is smooth and well combined. This step adds moisture and richness to your batter, making your waffles deliciously fluffy.
Step 4: Merging Wet and Dry Ingredients
Now, it’s time to combine the wet and dry ingredients. Pour the wet mixture into the bowl with the dry ingredients. Using a spatula or wooden spoon, gently stir the batter until just combined. Remember, it’s okay if there are a few lumps. Overmixing can lead to tough waffles, so be gentle. The batter should be thick and slightly lumpy, which is perfect for fluffy waffles.
Step 5: Cooking the Waffles
Once your batter is ready, it’s time to cook! Pour an appropriate amount of batter onto the center of the preheated waffle iron. This is usually about 1 cup, but check your waffle iron’s instructions for the exact amount. Close the lid and let the waffles cook for about 4-5 minutes. Keep an eye on them; they should turn golden brown and crisp. When they’re done, carefully remove them using a fork or tongs.
Step 6: Serving Suggestions
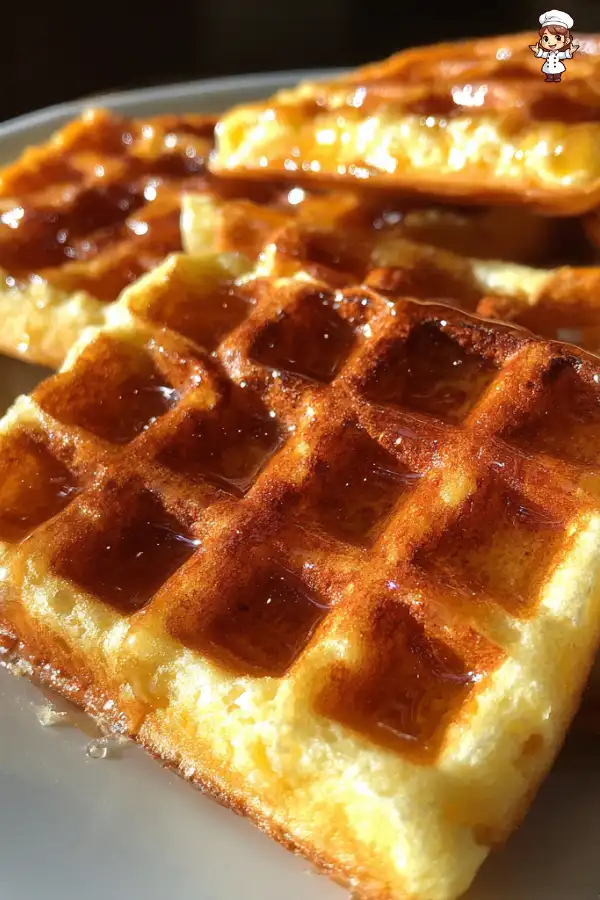
After cooking, place the waffles on a wire rack to keep them crisp. Serve them immediately for the best experience. You can top your buttermilk waffles with warm maple syrup, fresh fruits like strawberries or blueberries, or even whipped cream. For a fun twist, try adding a sprinkle of powdered sugar or a drizzle of chocolate sauce. Enjoy the delightful contrast of the crispy exterior and fluffy interior with every bite!
Tips for the Best Buttermilk Waffles Recipe
Common Mistakes to Avoid
Making buttermilk waffles can be a breeze, but there are a few common mistakes to watch out for. First, avoid overmixing the batter. It’s tempting to stir until smooth, but this can lead to tough waffles. Remember, a few lumps are perfectly fine!
Another mistake is not preheating the waffle iron properly. If it’s not hot enough, your waffles may turn out soggy instead of crispy. Always wait for the indicator light to signal that it’s ready.
Also, be cautious with the amount of batter you pour into the waffle iron. Too much batter can overflow, creating a mess. On the other hand, too little can lead to thin, sad waffles. Follow your waffle iron’s guidelines for the right amount.
Lastly, don’t forget to grease the waffle iron if needed. This step is crucial for easy removal and a crispy finish. A little melted butter goes a long way!
How to Achieve the Perfect Texture
To achieve that perfect texture in your buttermilk waffles, focus on the ingredients and mixing method. Start with fresh buttermilk, as it provides the best flavor and texture. If you can, use room temperature eggs and buttermilk. This helps the batter mix more evenly.
When combining the wet and dry ingredients, stir gently. This keeps the batter light and airy. If you want extra fluffiness, let the batter rest for about 5-10 minutes before cooking. This allows the baking powder and baking soda to activate fully.
Another tip is to cook the waffles until they are golden brown. This not only enhances the flavor but also ensures a crispy exterior. If you like your waffles extra crispy, you can leave them in the waffle iron for an additional minute or two, but keep an eye on them!
Finally, serve your waffles immediately after cooking. If you need to keep them warm, place them in a low oven (around 200°F or 93°C) on a wire rack. This keeps them crisp while you finish cooking the rest. With these tips, you’ll be on your way to making the best buttermilk waffles!
Variation of Buttermilk Waffles Recipe
Adding Flavors and Ingredients
Buttermilk waffles are a fantastic base for creativity! You can easily add flavors and ingredients to make them even more delicious. Here are some fun ideas to try:
- Fruit Additions: Mix in fresh fruits like blueberries, raspberries, or chopped strawberries directly into the batter. This not only adds flavor but also makes your waffles visually appealing.
- Spices: A dash of cinnamon or nutmeg can warm up the flavor profile. Just a teaspoon can make a big difference!
- Chocolate Lovers: If you’re a chocolate fan, fold in some chocolate chips or cocoa powder. This will create a rich, sweet treat that’s perfect for dessert or breakfast.
- Nuts: Chopped nuts like pecans or walnuts can add a delightful crunch. They also provide healthy fats and protein, making your waffles more filling.
- Extracts: Besides vanilla, try almond or coconut extract for a unique twist. Just a few drops can elevate the flavor significantly.
Feel free to mix and match these ingredients to create your signature buttermilk waffles. The beauty of this buttermilk waffles recipe is its versatility, allowing you to experiment and find your favorite combinations!
Gluten-Free Buttermilk Waffles Recipe
If you or someone you know is gluten-sensitive, you can still enjoy delicious buttermilk waffles! Here’s how to make a gluten-free version:
- Flour Substitute: Replace all-purpose flour with a gluten-free flour blend. Make sure it’s a blend that includes xanthan gum, which helps mimic the texture of regular flour.
- Check Ingredients: Ensure that your baking powder and baking soda are gluten-free. Most brands are, but it’s always good to double-check.
- Mixing Method: Follow the same mixing and cooking instructions as the original recipe. The batter may be slightly thicker, but that’s okay!
These gluten-free buttermilk waffles will be just as fluffy and delicious as the traditional ones. Serve them with your favorite toppings, and no one will know the difference!
FAQs About Buttermilk Waffles Recipe
Can I use regular milk instead of buttermilk?
Yes, you can use regular milk if you don’t have buttermilk on hand. However, to mimic the tangy flavor of buttermilk, add 1 tablespoon of vinegar or lemon juice to 1 cup of milk. Let it sit for about 5 minutes before using it in your buttermilk waffles recipe. This will help achieve a similar texture and taste.
How do I store leftover buttermilk waffles?
Storing leftover buttermilk waffles is easy! Allow them to cool completely, then place them in an airtight container. You can keep them in the refrigerator for up to 3 days. If you want to keep them longer, consider freezing them.
Can I freeze buttermilk waffles?
Absolutely! Freezing buttermilk waffles is a great way to enjoy them later. To freeze, place the cooled waffles in a single layer on a baking sheet. Once frozen, transfer them to a freezer-safe bag or container. They can be stored for up to 2 months. When you’re ready to eat, simply reheat them in a toaster or oven until warm.
What toppings go well with buttermilk waffles?
Buttermilk waffles are delicious on their own, but toppings can take them to the next level! Here are some popular options:
- Maple syrup: A classic choice that adds sweetness.
- Fresh fruits: Strawberries, blueberries, or bananas add freshness and flavor.
- Whipped cream: For a light and fluffy topping, whipped cream is perfect.
- Nut butter: Almond or peanut butter adds richness and protein.
- Chocolate sauce: Drizzle some chocolate sauce for a decadent treat.
Feel free to mix and match these toppings to create your perfect buttermilk waffles experience!
Conclusion: Enjoying Your Buttermilk Waffles Recipe
In conclusion, making buttermilk waffles is a delightful experience that brings joy to any breakfast table. With their fluffy texture and crispy edges, these waffles are not just a meal; they are a celebration of flavors. Whether you enjoy them plain or topped with your favorite ingredients, this buttermilk waffles recipe is sure to become a family favorite.
As you prepare your waffles, remember that the key to success lies in the quality of your ingredients and the care you take in mixing them. By following the steps outlined in this article, you can create a batch of waffles that are not only delicious but also visually appealing. The versatility of this recipe allows you to experiment with various flavors and toppings, making each breakfast unique.
So, gather your loved ones, whip up a batch of these scrumptious buttermilk waffles, and enjoy the smiles they bring. Whether it’s a special occasion or just a regular day, these waffles are perfect for any moment. Don’t forget to share your creations and variations with friends and family. Happy cooking!
Print
Buttermilk waffles recipe that will impress everyone!
- Total Time: 30 minutes
- Yield: 4 servings
- Diet: Vegetarian
Description
A delightful breakfast treat with a fluffy texture and crispy edges, perfect for any morning.
Ingredients
- All-purpose flour: 2 cups (240 g)
- Buttermilk: 2 cups (480 ml)
- Eggs: 2 large eggs
- Sugar: 2 tablespoons (25 g)
- Baking powder: 1 tablespoon (15 g)
- Baking soda: 1 teaspoon (5 g)
- Salt: 1/2 teaspoon (3 g)
- Melted butter: 1/2 cup (115 g)
- Vanilla extract: 1 teaspoon (optional)
- Cinnamon: to taste (optional)
- Chocolate chips: to taste (optional)
- Fresh fruits: to taste (optional)
- Nuts: to taste (optional)
Instructions
- Prep your waffle iron by plugging it in and setting it to the desired temperature.
- In a large mixing bowl, combine the all-purpose flour, sugar, baking powder, baking soda, and salt.
- In a separate bowl, whisk together the buttermilk, eggs, and melted butter until smooth.
- Pour the wet mixture into the dry ingredients and gently stir until just combined.
- Pour an appropriate amount of batter onto the preheated waffle iron and cook for about 4-5 minutes until golden brown.
- Serve immediately with your favorite toppings.
Latest Amazon Finds


Notes
- Avoid overmixing the batter to keep the waffles fluffy.
- Preheat the waffle iron properly for crispy waffles.
- Grease the waffle iron if necessary to prevent sticking.
- Let the batter rest for 5-10 minutes for extra fluffiness.
- Prep Time: 10 minutes
- Cook Time: 20 minutes
- Category: Breakfast
- Method: Waffle Iron
- Cuisine: American
Nutrition
- Serving Size: 1 waffle
- Calories: 250
- Sugar: 5 g
- Sodium: 300 mg
- Fat: 10 g
- Saturated Fat: 5 g
- Unsaturated Fat: 3 g
- Trans Fat: 0 g
- Carbohydrates: 35 g
- Fiber: 1 g
- Protein: 6 g
- Cholesterol: 70 mg
Keywords: buttermilk waffles, breakfast, easy recipe, fluffy waffles