
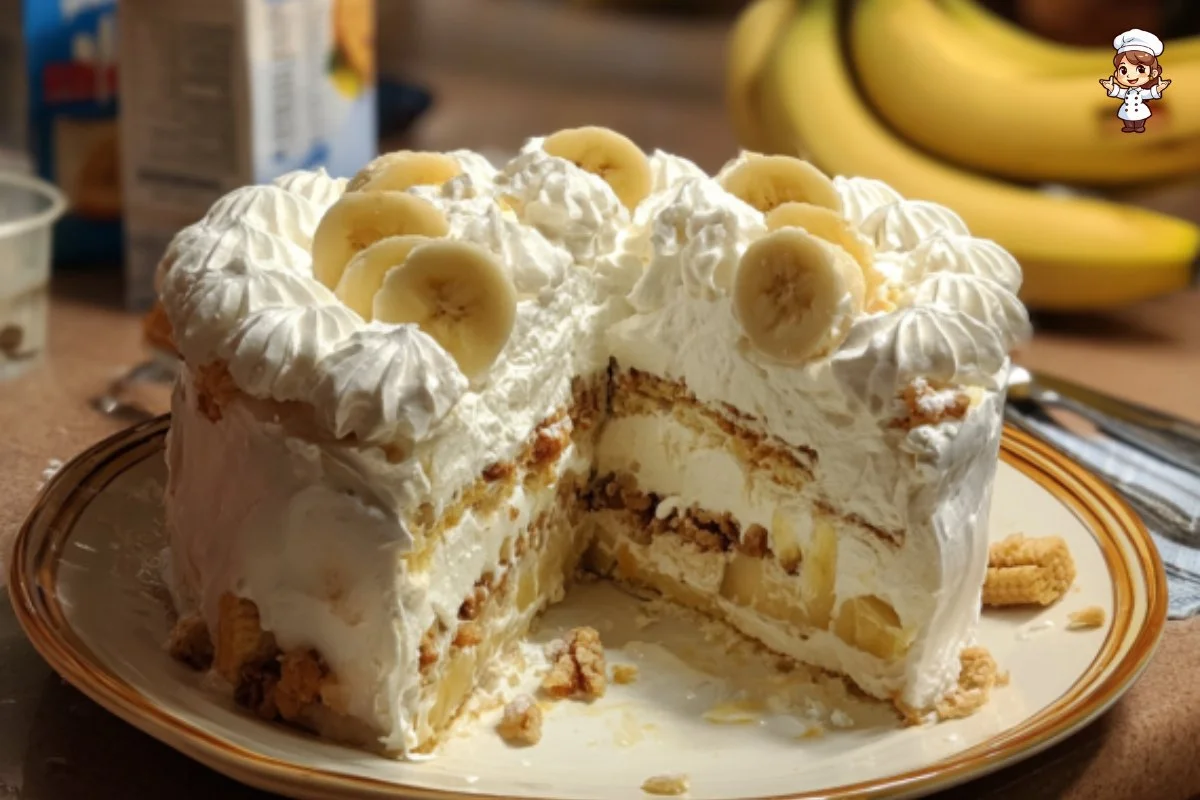
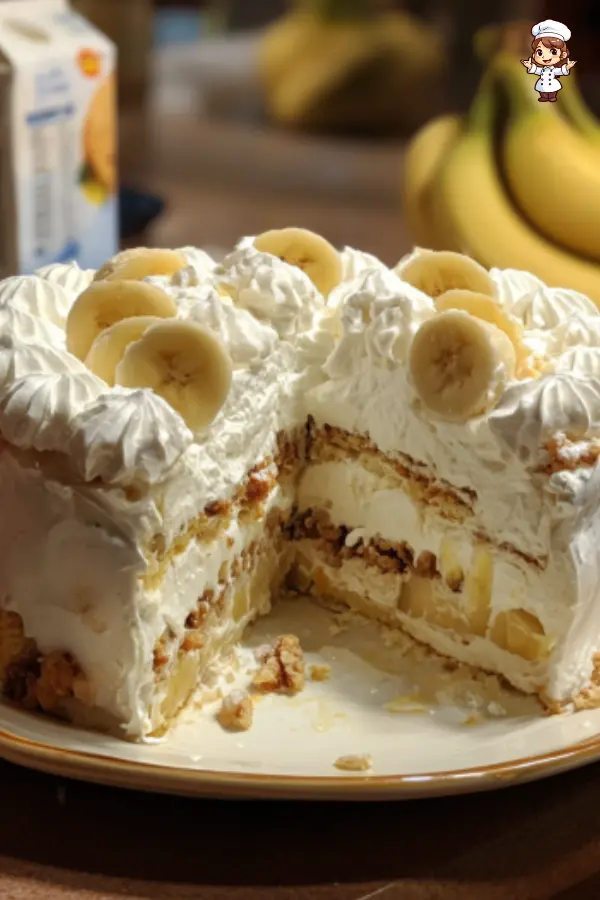
Banana Pudding Cake is a delightful dessert that combines the classic flavors of banana pudding into a stunning cake format. This delicious dessert is perfect for birthdays, family gatherings, or simply a sweet treat after dinner. With layers of creamy pudding, fresh bananas, and crunchy Nilla wafers, every bite delivers a taste of nostalgia, reminiscent of childhood favorites. The light and airy texture of the Cool Whip adds a delightful creaminess that complements the bananas and the crispiness of the wafers. Not only does it taste fantastic, but the presentation can be incredibly impressive, making it a show-stopping dessert for any occasion.
Made with just a few simple ingredients, the preparation of Banana Pudding Cake is quick and manageable, even for beginner bakers. This recipe allows you to assemble a beautiful cake without needing any complicated baking techniques or extensive kitchen tools. Set aside a bit of time, follow the simple steps, and you will have a scrumptious dessert that will have your friends and family raving about your culinary skills.
Ingredients about Banana Pudding Cake
- 1 34-oz box instant vanilla pudding plus additional ingredients called for on the box
- 1 11-oz box Nilla wafers
- 1/2 cup cold milk
- 6 large ripe bananas, thinly sliced
- 8 oz Cool Whip, plus more for decorating
Optional ingredient substitutions
If you cannot find Nilla wafers, you could use any type of vanilla cookie as a substitute. You might also substitute other flavors of pudding, like chocolate, if you want to change up the taste. For a healthier version, you can use low-fat milk or even a dairy-free milk alternative. Furthermore, homemade whipped cream can replace Cool Whip if you prefer a more natural ingredient.
How to Make Banana Pudding Cake
Step 1: Prepare the pudding
Begin by preparing the instant vanilla pudding according to the instructions on the box. Typically, you will need to combine the pudding mix with cold milk and whisk until the mixture thickens. It’s crucial to ensure there are no lumps, so take your time with this step. Once the pudding reaches the appropriate consistency, set it aside as you prepare the rest of the ingredients.
Step 2: Arrange the first layer of wafers
Grab an 8-inch springform pan and start by arranging a layer of Nilla wafers at the bottom of the pan. For added flavor, dip each cookie quickly in milk before placing it in the pan. This step ensures that the wafers absorb some moisture and become slightly softer, which is essential for a balanced texture in the finished cake. Lay 19 wafers on the bottom to create a solid foundation.
Step 3: Build the layers
Now that your wafers are in place, take one-third of the prepared pudding and spread it over the wafers. You want to cover the cookies thoroughly. Next, layer the thinly sliced bananas on top of the pudding. The combination of bananas and pudding creates a delicious flavor that enhances each bite. After adding the bananas, top the layer with another third of the Cool Whip, spreading it evenly over the bananas.
Step 4: Repeat the layers
Repeat the previous steps two more times. Each layer should consist of Nilla wafers, pudding, bananas, and Cool Whip. After finishing the final layer, use a spatula to smooth the top of the cake carefully. Cover the pan tightly with plastic wrap and place it in the freezer for about four hours or until the cake is firm to the touch. Freezing allows all of the flavors to meld together and ensures that the cake holds its shape when unmolded.
Once firm, remove the cake from the freezer and unfasten the springform pan. For a beautiful finishing touch, add dollops of Cool Whip around the edge of the cake. You can also stand up additional Nilla wafers and banana slices in the dollops to create an attractive presentation. This cake not only tastes great but also looks lovely, making it perfect for a special occasion.
How to Serve Banana Pudding Cake
Best ways to serve Banana Pudding Cake
Banana Pudding Cake is best served chilled after it has spent time in the freezer to firm up the layers. When you’re ready to serve, slice the cake into wedges with a sharp knife. Using a cake server or a spatula, carefully lift the slices out of the pan, making sure to keep the layers intact.
For an elegant touch, you can sprinkle some crushed Nilla wafers on top of the cake before serving. Garnish with a sprig of fresh mint for added color and flavor.
Serving suggestions or pairings
Banana Pudding Cake pairs wonderfully with a cup of coffee or a glass of iced tea. For a complete dessert experience, consider serving it alongside a scoop of vanilla or caramel ice cream. The creamy flavors of the ice cream complement the cake beautifully, creating a rich combination that is sure to please your guests.
How to Store Banana Pudding Cake
Proper storage methods
To store your Banana Pudding Cake, keep it in the refrigerator if you plan to consume it within a few days. Make sure to cover the cake tightly with plastic wrap or aluminum foil to prevent it from absorbing any unwanted odors. If you want to keep it for a longer time, store it in the freezer. Just be sure to slice it first if you want to serve individual portions later.
Tips for reheating or freezing
When properly stored in the freezer, the cake can last for up to two months. However, it’s best to enjoy it within the first month for the best flavor and texture. If you decide to freeze the cake, simply take it out of the freezer and let it thaw in the refrigerator for a few hours or overnight before serving. Avoid microwaving it, as this can alter the texture of the layers.
Tips to Make Banana Pudding Cake
Common mistakes to avoid
One common mistake when making Banana Pudding Cake is not allowing the pudding to thicken adequately before layering. Make sure to spend the appropriate time whisking the pudding to ensure it sets properly. Additionally, avoid using bananas that are too under-ripe, as they won’t have the same sweet flavor or soft texture.
Another mistake people make is not dipping the Nilla wafers in milk. Dipping is essential to ensure that the cookies absorb moisture, giving the cake that soft, velvety texture.
Helpful tips for better results
To enhance the flavor of your Banana Pudding Cake, consider adding a splash of vanilla extract to the pudding mixture. This extra flavor can elevate the taste and make the cake even more delicious. If you are feeling adventurous, try adding a sprinkle of cinnamon or nutmeg to the layer of bananas for a hint of spice that pairs nicely with the sweetness of the dish.
Lastly, for an added nutrition kick, consider layering some chopped nuts, like walnuts or pecans, between the layers. Not only will this provide a nice crunch, but it also adds healthy fats that can help balance out the sweetness of the cake.
Variation of Banana Pudding Cake
Suggested variations or twists on the recipe
There are many ways to put a twist on the classic Banana Pudding Cake. For a chocolate lover’s paradise, substitute the vanilla pudding with instant chocolate pudding. You can even add some chocolate chips between the banana layers for a rich chocolate flavor.
If you love peanut butter, consider adding a layer of peanut butter or peanut butter-flavored whipped topping. The combination of banana and peanut butter is always a crowd-pleaser and gives the cake a unique flavor.
Adjustments for dietary preferences
If you need to make adjustments for dietary restrictions, there are several alternatives you can use. For a gluten-free version, ensure that the Nilla wafers are gluten-free or opt for a gluten-free cookie. To make the cake lighter in calories, use sugar-free pudding mix and a low-calorie version of Cool Whip. Additionally, for a dairy-free option, substitute almond milk, coconut milk, or any other non-dairy milk alternative for the regular milk in the pudding and use a non-dairy whipped topping.
FAQs
What can I do if the dish isn’t turning out right?
If your Banana Pudding Cake doesn’t seem to be firming up properly, ensure that you’ve allowed enough chilling time—at least four hours in the freezer is necessary to achieve the right texture. If the pudding is too runny, you may need to prepare another batch of pudding and layer it again to get the structure you want.
Can I make this ahead of time?
Yes! Banana Pudding Cake is an excellent make-ahead dessert. You can prepare it a day before the event, allowing it to chill overnight in the refrigerator or freezer. It will taste even better as the flavors meld together.
What can I substitute for ingredients?
You can make several substitutions based on availability or dietary needs. As mentioned earlier, different flavors of pudding can be used in place of vanilla pudding—chocolate, butterscotch, or even cheesecake flavors work well. If you can’t find Nilla wafers, any vanilla cookie or even ladyfingers can create similar results. For a healthier cake, consider using whole wheat cookies or low-calorie dairy options in the pudding.
Banana Pudding Cake brings joy and a sense of nostalgia to dessert tables everywhere. With its layers of delightful flavors, it is sure to be a hit at any gathering. Enjoy the process of making it and, of course, the pleasure of devouring this creamy, dreamy cake!
Print
Banana Pudding Cake
- Total Time: 4 hours 20 minutes (including chilling time)
- Yield: 8–10 servings 1x
- Diet: Vegetarian
Description
Banana Pudding Cake is a creamy, nostalgic dessert with layers of vanilla pudding, fresh bananas, Nilla wafers, and Cool Whip, perfect for any occasion.
Ingredients
- 1 34-oz box instant vanilla pudding plus ingredients called for on the box
- 1 11-oz box Nilla wafers
- 1/2 cup cold milk
- 6 large ripe bananas, thinly sliced
- 8 oz Cool Whip, plus more for decorating
Instructions
- Prepare the instant vanilla pudding according to package instructions using cold milk. Set aside.
- Arrange a layer of Nilla wafers at the bottom of an 8-inch springform pan, dipping each wafer in milk briefly before placing.
- Spread one-third of the pudding over the wafers, then layer sliced bananas on top.
- Spread one-third of the Cool Whip over the banana layer evenly.
- Repeat layering wafers, pudding, bananas, and Cool Whip two more times.
- Smooth the top layer with a spatula, cover with plastic wrap, and freeze for about 4 hours until firm.
- Remove from freezer, release the springform pan, decorate with dollops of Cool Whip, additional Nilla wafers, and banana slices if desired.
- Slice and serve chilled.
Latest Amazon Finds


Notes
- Dip Nilla wafers in milk before layering to soften and improve texture.
- Allow pudding to thicken fully before assembling to avoid runny layers.
- Use ripe bananas for the best flavor and texture.
- Chill cake in freezer for at least 4 hours to help it set properly.
- Optional: Add vanilla extract or sprinkle cinnamon/nutmeg on banana layers for extra flavor.
- Prep Time: 20 minutes
- Cook Time: 0 minutes
- Category: Dessert
- Method: No-bake assembly and chilling
- Cuisine: American
Nutrition
- Serving Size: 1 slice
- Calories: 280
- Sugar: 24g
- Sodium: 150mg
- Fat: 10g
- Saturated Fat: 6g
- Unsaturated Fat: 3g
- Trans Fat: 0g
- Carbohydrates: 40g
- Fiber: 2g
- Protein: 3g
- Cholesterol: 20mg
Keywords: Banana Pudding Cake, layered banana dessert, Nilla wafer cake, creamy banana cake, no-bake banana pudding