

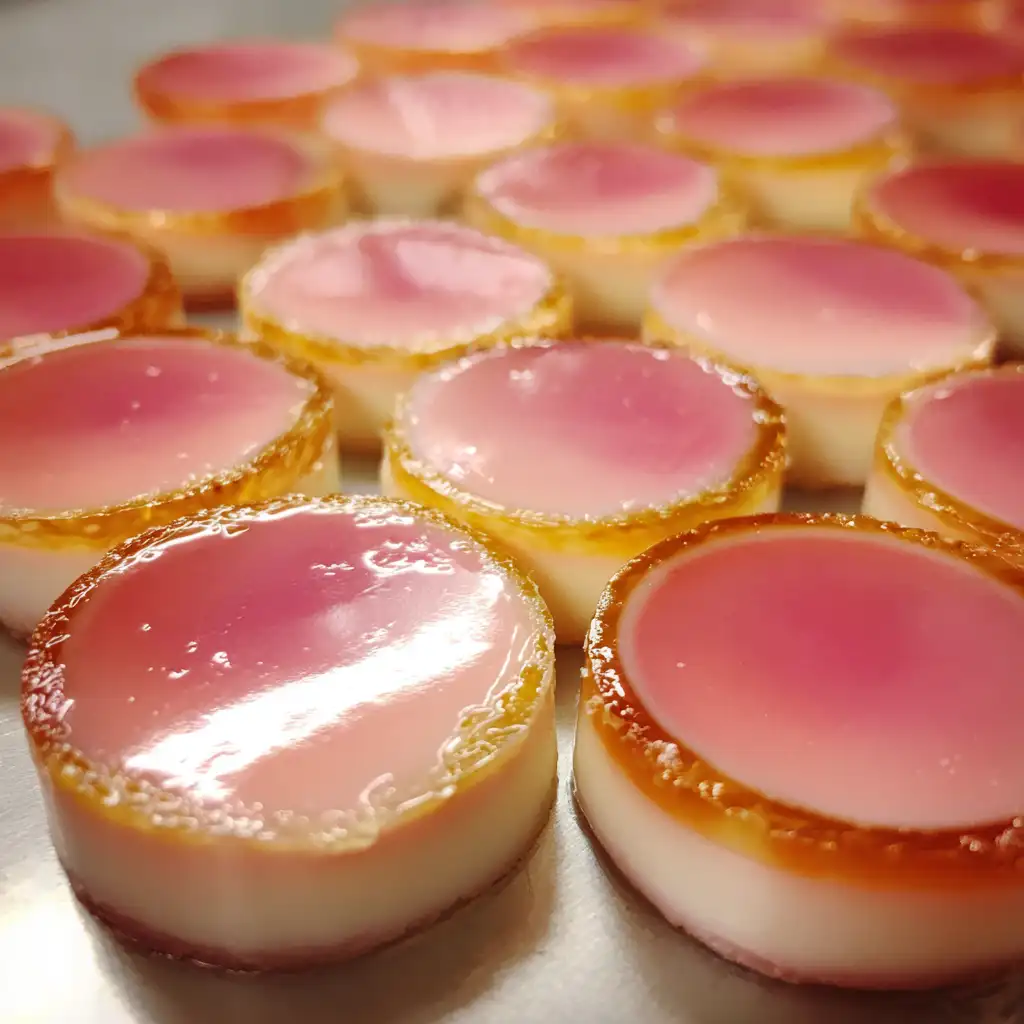
Baby yogurt melts are delightful, bite-sized treats made from yogurt and fruit puree. They are frozen into small discs, making them easy for little hands to grasp. These tasty snacks are perfect for babies and toddlers, providing a fun way to introduce them to new flavors and textures. The creamy yogurt combined with fruity goodness creates a refreshing treat that can be enjoyed any time of the day. Plus, they are simple to make at home, allowing you to control the ingredients and ensure they are healthy for your little one.
Benefits of Baby Yogurt Melts
There are many benefits to serving baby yogurt melts to your child. First, they are packed with nutrients. Yogurt is a great source of calcium and protein, which are essential for growing bones and muscles. Additionally, the fruit puree adds vitamins and antioxidants, promoting overall health.
Another advantage is that baby yogurt melts are easy to digest. The freezing process makes them soft and gentle on tiny tummies. They can also help soothe sore gums during teething. Moreover, these treats are versatile. You can mix and match different fruit purees to keep things exciting for your baby.
Lastly, baby yogurt melts are a fun way to encourage self-feeding. As babies learn to eat independently, these melts can help develop their motor skills. They can practice picking up the melts and enjoying them at their own pace. Overall, baby yogurt melts are a nutritious, enjoyable, and practical snack for your little one!
Ingredients for Baby Yogurt Melts
Creating delicious baby yogurt melts is simple and requires just a few wholesome ingredients. Here’s what you’ll need:
- Plain yogurt: 1 cup (preferably full-fat for creaminess)
- Fruit puree: 1/2 cup (choose from options like strawberry, banana, or any favorite fruit)
- Honey: 1 tablespoon (optional, adjust based on sweetness preference)
When selecting yogurt, opt for plain varieties without added sugars or artificial flavors. Full-fat yogurt is ideal for babies, as it provides essential fats for their growth and development. If your child is under one year old, skip the honey to avoid any risk of botulism.
For the fruit puree, you can use fresh or frozen fruits. Fresh fruits should be washed and chopped before blending. If you choose frozen fruits, make sure to thaw them first. This flexibility allows you to create a variety of flavors, keeping snack time exciting for your little one.
Feel free to experiment with different combinations of fruit purees. For instance, mixing banana with a bit of mango can create a tropical delight. The possibilities are endless, and your baby will love trying new tastes!


Preparation of Baby Yogurt Melts
Step 1: Gather Your Ingredients
Before you start making baby yogurt melts, it’s important to gather all your ingredients. You’ll need plain yogurt, fruit puree, and honey if you choose to use it. Make sure you have measuring cups and spoons ready. Having everything in one place will make the process smooth and enjoyable.
Step 2: Prepare the Yogurt
Next, take your plain yogurt and place it in a mixing bowl. If you’re using full-fat yogurt, it will be creamier and richer, which is perfect for baby yogurt melts. Stir the yogurt gently to make it smooth. This step ensures that the yogurt blends well with the fruit puree later on.
Step 3: Blend the Mixture
Now it’s time to add the fruit puree to the yogurt. Pour in the fruit puree you prepared earlier. If you haven’t made the puree yet, blend your chosen fruit until it’s smooth. Once the puree is in the bowl, add honey if you want extra sweetness. Mix everything together until it’s well combined. The mixture should be smooth and creamy, with a lovely fruity aroma!
Step 4: Pour and Shape
After blending, it’s time to pour the mixture into molds. If you’re using silicone molds, simply spoon the yogurt mixture into each cavity. If you’re using a baking sheet lined with parchment paper, you can use a small round cookie cutter to create uniform shapes. Aim for small discs about 1 inch in diameter. This size is perfect for little hands to hold!
Step 5: Freeze the Yogurt Melts
Once you’ve filled the molds or baking sheet, place them in the freezer. It’s best to freeze the yogurt melts for at least 2-3 hours. This will ensure they are completely solid. You can check them after a couple of hours to see if they are ready. Once they are firm, they will be easy to pop out of the molds.
Step 6: Store the Baby Yogurt Melts
After freezing, carefully remove the yogurt melts from the molds or peel them off the parchment paper. If you made them on a baking sheet, you can break them into pieces. Store the yogurt melts in an airtight container in the freezer. They can last for up to a month, making them a convenient snack option for busy parents!
Tips for Making the Best Baby Yogurt Melts
Choosing the Right Yogurt
When it comes to making baby yogurt melts, selecting the right yogurt is crucial. Always opt for plain yogurt without added sugars or artificial flavors. Full-fat yogurt is the best choice for babies. It provides essential fats that support their growth and brain development. If your baby is under one year old, avoid using honey in the recipe, as it can pose a risk of botulism.
Look for yogurt that contains live active cultures. These beneficial bacteria can aid in digestion and promote gut health. You can find various brands in stores, so take a moment to read the labels. If your baby has a dairy allergy or intolerance, consider using dairy-free yogurt alternatives made from coconut, almond, or soy. Just ensure they are fortified with calcium and vitamin D for optimal nutrition.
Flavor Variations for Baby Yogurt Melts
One of the best parts about making baby yogurt melts is the endless flavor possibilities! You can easily customize the taste to suit your baby’s preferences. Start with the basic recipe, then get creative with different fruit purees. Here are some fun ideas:
- Mango Madness: Use ripe mango puree for a tropical twist.
- Berry Blast: Combine strawberry and blueberry purees for a berry explosion.
- Peachy Keen: Blend fresh or canned peaches for a sweet and juicy flavor.
- Green Goodness: Add spinach or avocado puree for a nutritious boost.
For an extra layer of flavor, consider mixing in a pinch of cinnamon or a drop of vanilla extract. These additions can enhance the taste without overpowering the natural sweetness of the fruit. Remember, the goal is to create a delightful treat that your baby will love!
Variation Ideas for Baby Yogurt Melts
Fruit-Infused Baby Yogurt Melts
Fruit-infused baby yogurt melts are a fantastic way to introduce your little one to a variety of flavors. You can easily switch up the fruit purees to create exciting combinations. For instance, try mixing apple and pear puree for a sweet and mild taste. Or, combine kiwi and banana for a tangy yet creamy treat. The key is to use ripe fruits that are naturally sweet, ensuring your baby enjoys every bite.
Another fun idea is to layer different fruit purees in the molds. Start with a layer of strawberry puree, then add a layer of yogurt, followed by a layer of banana puree. This not only looks appealing but also offers a delightful surprise with each melt. Your baby will love discovering new flavors as they enjoy their yogurt melts!
Adding Superfoods to Baby Yogurt Melts
To boost the nutritional value of your baby yogurt melts, consider adding superfoods. These ingredients are packed with vitamins and minerals that can benefit your child’s health. For example, you can mix in a spoonful of chia seeds or ground flaxseeds. These tiny seeds are rich in omega-3 fatty acids, which are great for brain development.
Another option is to incorporate pureed spinach or kale. These leafy greens are full of iron and other essential nutrients. Just blend them well with the yogurt and fruit puree to ensure a smooth texture. Your baby won’t even notice the greens, but you’ll know they’re getting a healthy boost!
Lastly, consider adding a small amount of nut butter, like almond or peanut butter, if your baby has already been introduced to nuts. This addition can provide healthy fats and protein, making the yogurt melts even more satisfying. Just remember to check for allergies and consult with your pediatrician if you’re unsure.
Frequently Asked Questions About Baby Yogurt Melts
How long do baby yogurt melts last?
Baby yogurt melts can last up to a month when stored properly. Keep them in an airtight container in the freezer. This way, they stay fresh and ready for your little one to enjoy. Just remember to check for any signs of freezer burn before serving. If they look good, they should be safe to eat!
Can I use homemade yogurt for baby yogurt melts?
Absolutely! Homemade yogurt can be a great option for baby yogurt melts. Just ensure that your homemade yogurt is plain and free from added sugars or flavors. It’s also important to use full-fat milk for the best texture. Homemade yogurt can be a nutritious choice, allowing you to control the ingredients and ensure they are healthy for your baby.
Are baby yogurt melts suitable for all ages?
Baby yogurt melts are generally suitable for babies over six months old, as long as they have been introduced to yogurt and fruit. However, always consult your pediatrician before introducing new foods. For younger babies, ensure the yogurt is plain and avoid honey until they are at least one year old. As your child grows, they can enjoy these melts as a fun snack!
How do I serve baby yogurt melts to my baby?
Serving baby yogurt melts is easy and fun! You can offer them as a snack during playtime or as a refreshing treat on a warm day. Simply take a few melts out of the freezer and let your baby enjoy them. You can also pair them with fresh fruit or a small serving of granola for a more filling snack. Just keep an eye on your little one to ensure they are enjoying their treat safely!
Print
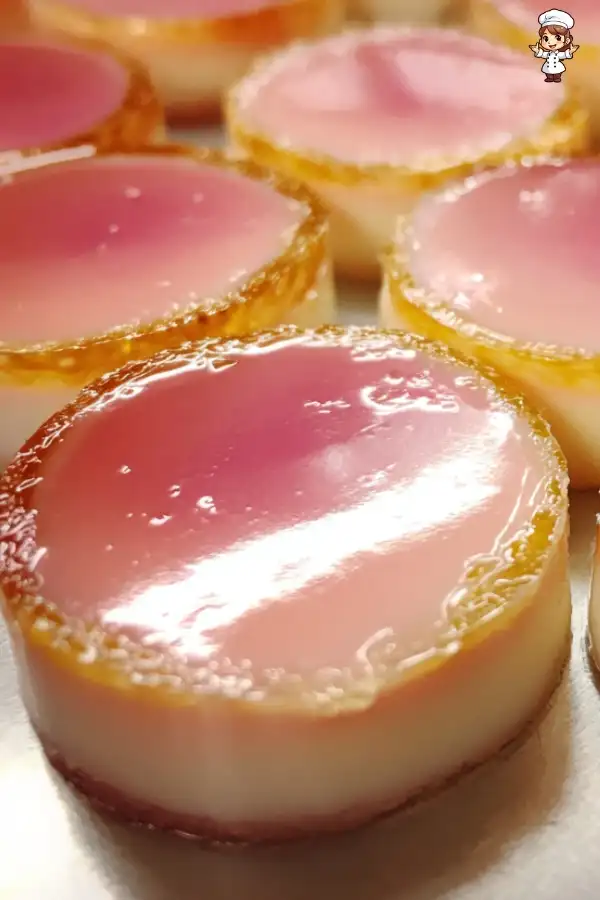
Baby yogurt melts
- Total Time: 2-3 hours (including freezing time)
- Yield: Approximately 20 melts
- Diet: Vegetarian
Description
Baby yogurt melts are delightful, bite-sized treats made from yogurt and fruit puree, perfect for babies and toddlers to enjoy new flavors and textures.
Ingredients
- Plain yogurt: 1 cup (preferably full-fat for creaminess)
- Fruit puree: 1/2 cup (choose from options like strawberry, banana, or any favorite fruit)
- Honey: 1 tablespoon (optional, adjust based on sweetness preference)
Instructions
- Gather your ingredients: plain yogurt, fruit puree, and honey if desired.
- Prepare the yogurt by placing it in a mixing bowl and stirring gently until smooth.
- Blend the fruit puree into the yogurt mixture, adding honey if desired, until well combined.
- Pour the mixture into molds or onto a baking sheet lined with parchment paper, shaping into small discs.
- Freeze the yogurt melts for at least 2-3 hours until solid.
- Store the yogurt melts in an airtight container in the freezer for up to a month.
Latest Amazon Finds


Notes
- Use plain yogurt without added sugars or artificial flavors.
- For babies under one year, skip the honey to avoid botulism risk.
- Experiment with different fruit purees for variety.
- Consider adding superfoods like chia seeds or spinach for extra nutrition.
- Prep Time: 10 minutes
- Cook Time: 0 minutes
- Category: Snack
- Method: Freezing
- Cuisine: American
Nutrition
- Serving Size: 2 melts
- Calories: 30
- Sugar: 3g
- Sodium: 10mg
- Fat: 1g
- Saturated Fat: 0.5g
- Unsaturated Fat: 0.5g
- Trans Fat: 0g
- Carbohydrates: 5g
- Fiber: 0g
- Protein: 2g
- Cholesterol: 5mg
Keywords: baby yogurt melts, healthy snacks, baby food, yogurt, fruit puree