

There’s something truly magical about the holidays, and for me, it always comes back to making homemade treats that warm the heart and fill the home with joy. One of my all-time favorites is crafting these delightful homemade Reese’s peanut butter Christmas trees. I remember the first time I made them with my kids; their eyes lit up as we shaped the peanut butter mix into little trees, giggling and making a mess in the kitchen. The sweet, nutty aroma filled the air, and the excitement was contagious! These charming treats are not just delicious; they also bring back those nostalgic memories of family time and festive cheer. Trust me, once you try making these homemade Reese’s peanut butter Christmas trees, you’ll understand why they’re a holiday staple in my house. Plus, they’re super easy to whip up, making them perfect for sharing with loved ones!

Why You’ll Love This Recipe
- Quick preparation: You can whip these up in just 30 minutes!
- No-bake method: Perfect for those who want a hassle-free holiday treat.
- Delicious flavor: The combination of creamy peanut butter and rich chocolate is simply irresistible.
- Festive appeal: These adorable Christmas trees add a fun touch to your holiday spread.
- Kid-friendly: Perfect activity for little hands to help shape and decorate.
- Easily customizable: You can switch up colors or toppings to match your festive theme!


Ingredients for Homemade Reese’s Peanut Butter Christmas Trees
- 1 cup creamy peanut butter – the star of the show, bringing that rich, nutty flavor.
- 1 cup sifted powdered sugar – this adds sweetness and helps create that perfect texture.
- 1 cup semi-sweet chocolate chips – for dipping, giving that delightful chocolatey finish.
- 1 teaspoon pure vanilla extract – a splash of vanilla elevates the flavor beautifully.
- Green food coloring as desired – to make your trees festive and fun! You can use as much or as little as you like.
- 1 tablespoon coconut oil – this helps the chocolate melt smoothly and gives it a nice sheen.
How to Prepare Homemade Reese’s Peanut Butter Christmas Trees
Making these delightful homemade Reese’s peanut butter Christmas trees is a fun and simple process! Just follow these steps, and you’ll have a festive treat in no time. Let’s get started!
Step-by-Step Instructions
- In a large mixing bowl, combine 1 cup of creamy peanut butter and 1 cup of sifted powdered sugar. Stir them together until you have a smooth and cohesive mixture. This is where the magic begins!
- Add in 1 teaspoon of pure vanilla extract and mix well, enhancing that delicious flavor. You’ll want to taste it just to make sure it’s as good as it sounds!
- Now comes the fun part: shaping the trees! Take a small handful of the peanut butter mixture and form it into a triangular tree shape. Don’t worry about perfection—each tree will have its own character! Aim for about 2-3 inches high.
- Once shaped, place your trees on a plate lined with wax paper. This helps with easy cleanup later. Pop the plate in the freezer for about 15 minutes to firm them up a bit.
- While the trees are chilling, it’s time to melt the chocolate! In a microwave-safe bowl, combine 1 cup of semi-sweet chocolate chips and 1 tablespoon of coconut oil. Microwave in 30-second intervals, stirring in between, until fully melted and smooth. This usually takes about 1-2 minutes total.
- Add a few drops of green food coloring to the melted chocolate, mixing until you get your desired shade of festive green. Get ready for the transformation!
- Now, carefully dip each peanut butter tree into the melted chocolate, ensuring they are fully coated. Lift them out and let any excess chocolate drip off.
- Return the chocolate-coated trees to the wax paper-lined plate. Once all are dipped, place the plate back in the fridge for about 30 minutes, or until the chocolate is set and firm.
And there you have it! Once the chocolate has hardened, these homemade Reese’s peanut butter Christmas trees are ready to delight your family and friends!
Tips for Success
To make your homemade Reese’s peanut butter Christmas trees truly shine, here are some of my best tips! First, when shaping the trees, dampen your hands slightly to prevent the mixture from sticking. This little trick makes it so much easier! For melting the chocolate, be patient and microwave in short bursts, stirring in between to avoid scorching—nobody wants burnt chocolate! Lastly, ensure the chocolate is completely set before moving them; I like to leave them in the fridge a bit longer if needed. Trust me, these small steps can make a big difference in your festive treats!
Nutritional Information
Here’s the estimated nutritional information for each homemade Reese’s peanut butter Christmas tree. Keep in mind that these values can vary depending on the specific ingredients you use, so consider this a general guideline:
- Calories: 150
- Fat: 10g
- Saturated Fat: 4g
- Unsaturated Fat: 5g
- Trans Fat: 0g
- Cholesterol: 0mg
- Sodium: 50mg
- Carbohydrates: 15g
- Fiber: 1g
- Sugar: 10g
- Protein: 3g
These festive treats are not only delicious but also pack a bit of protein to keep you energized during the holiday hustle and bustle!
Storage & Reheating Instructions
To keep your homemade Reese’s peanut butter Christmas trees fresh and delicious, store any leftovers in an airtight container at room temperature for up to a week. This helps maintain their delightful texture and flavor! If you want to save them for later, you can easily freeze them. Just place the trees in a single layer on a baking sheet until frozen solid, then transfer them to a freezer-safe container or bag. They’ll keep well for up to two months. When you’re ready to enjoy them, simply thaw in the fridge overnight—no need to reheat. Enjoy the festive treats at your leisure!
FAQ Section
I’m so glad you’re interested in these homemade Reese’s peanut butter Christmas trees! Here are some questions I often get about this fun recipe:
Can I use almond butter instead of peanut butter?
Absolutely! Almond butter works great if you’re looking for a nut-free option or just want to switch things up.
What if I don’t have green food coloring?
No worries! You can skip the food coloring for a classic chocolate look or try other colors to match your festive theme.
How can I decorate my trees?
Get creative! Use sprinkles, edible glitter, or M&Ms for ornaments. The kids will love helping with this part!
Can these be made ahead of time?
Yes, definitely! These treats store well, so feel free to make them a few days in advance for your holiday gatherings.
How should I serve them?
Serve them on a festive platter for a fun holiday display, or wrap them up as sweet gifts for friends and family!
For more festive recipes, check out my blog for inspiration!
Learn more about the benefits of peanut butter and its nutritional value!
Print
Homemade Reese’s Peanut Butter Christmas Trees: 7 Heartwarming Tips
- Total Time: 30 minutes
- Yield: 12 servings 1x
- Diet: Vegetarian
Description
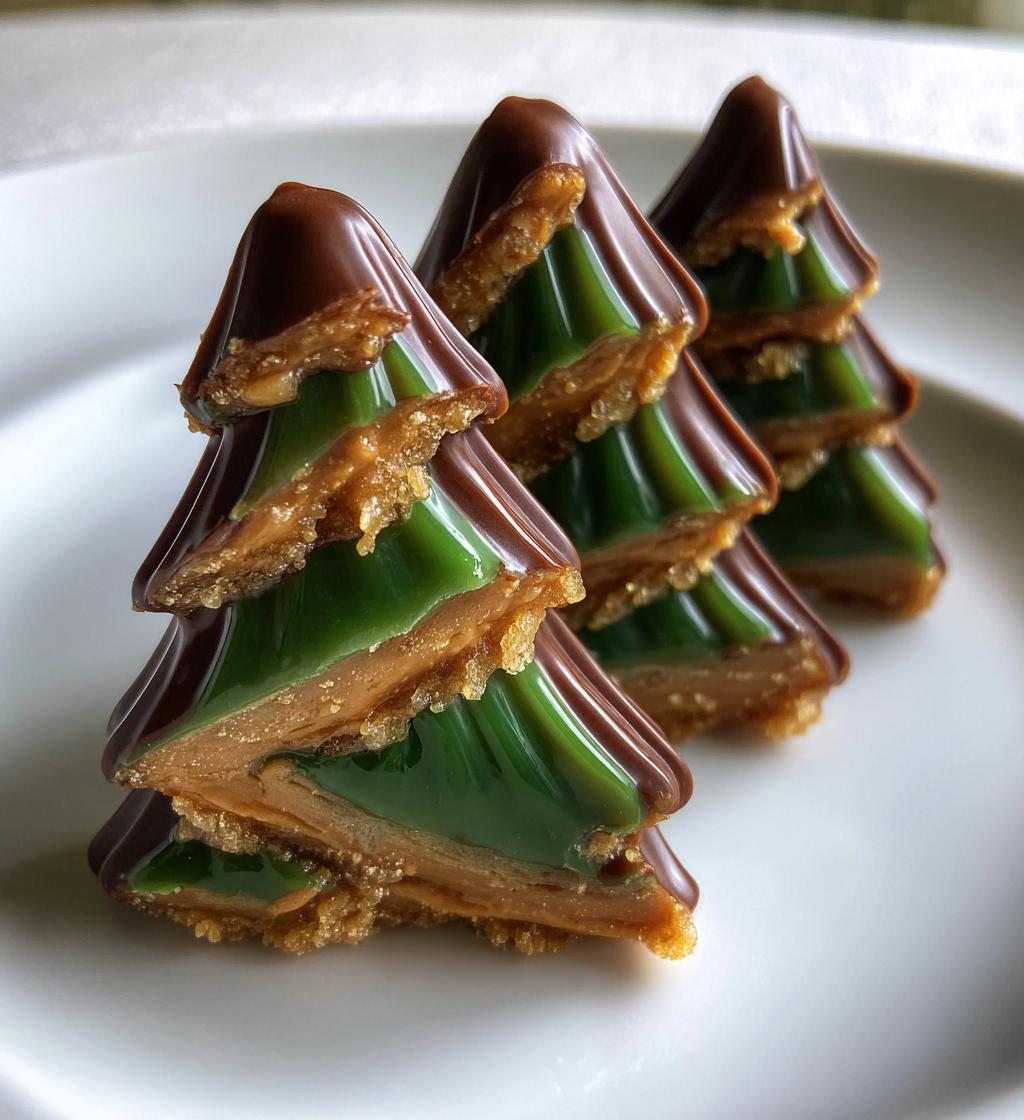
Delicious homemade Reese’s peanut butter Christmas trees.
Ingredients
- 1 cup peanut butter
- 1 cup powdered sugar
- 1 cup chocolate chips
- 1 teaspoon vanilla extract
- Green food coloring
- 1 tablespoon coconut oil
Instructions
- Mix peanut butter and powdered sugar in a bowl.
- Add vanilla extract and mix well.
- Shape the mixture into tree shapes.
- Melt chocolate chips and coconut oil in a microwave.
- Add green food coloring to melted chocolate.
- Dip the peanut butter trees in the chocolate.
- Place on wax paper to cool.
- Let chocolate set before serving.
Notes
- Store in an airtight container.
- Use different colors for decoration.
- Can substitute almond butter if desired.
- Prep Time: 20 minutes
- Cook Time: 10 minutes
- Category: Dessert
- Method: No-bake
- Cuisine: American
Nutrition
- Serving Size: 1 tree
- Calories: 150
- Sugar: 10g
- Sodium: 50mg
- Fat: 10g
- Saturated Fat: 4g
- Unsaturated Fat: 5g
- Trans Fat: 0g
- Carbohydrates: 15g
- Fiber: 1g
- Protein: 3g
- Cholesterol: 0mg
Keywords: homemade reeses peanut butter christmas trees