

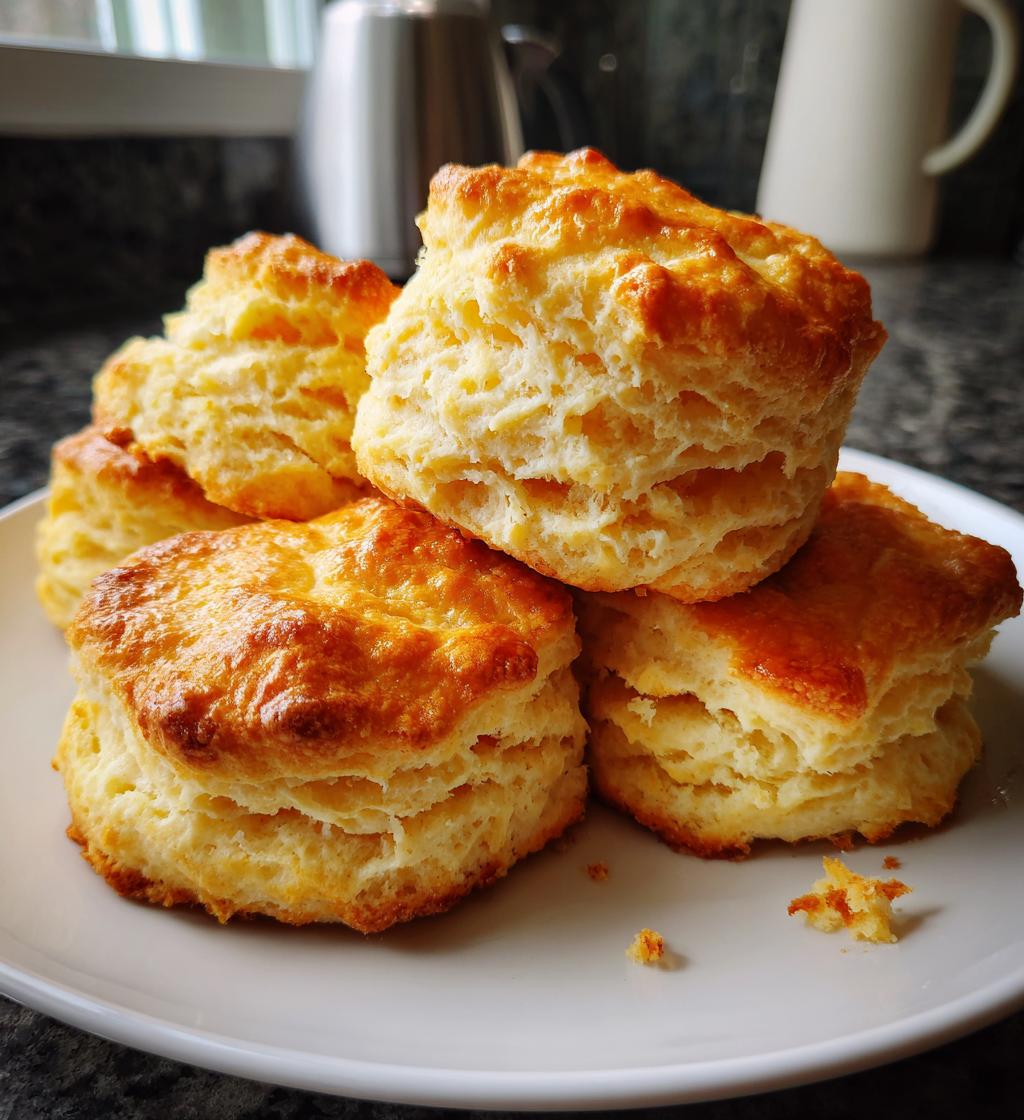
Oh, let me tell you about my love affair with homemade buttermilk biscuits! There’s just something magical about pulling a tray of these fluffy, golden delights out of the oven. The moment you break one open, the buttery aroma fills the kitchen, and you can almost see the steam rising as you prepare to take that first bite. Trust me, it’s pure bliss! I remember the first time I made them; I was a little nervous, but as soon as I tasted that buttery, melt-in-your-mouth texture, I knew I’d found a recipe for life.
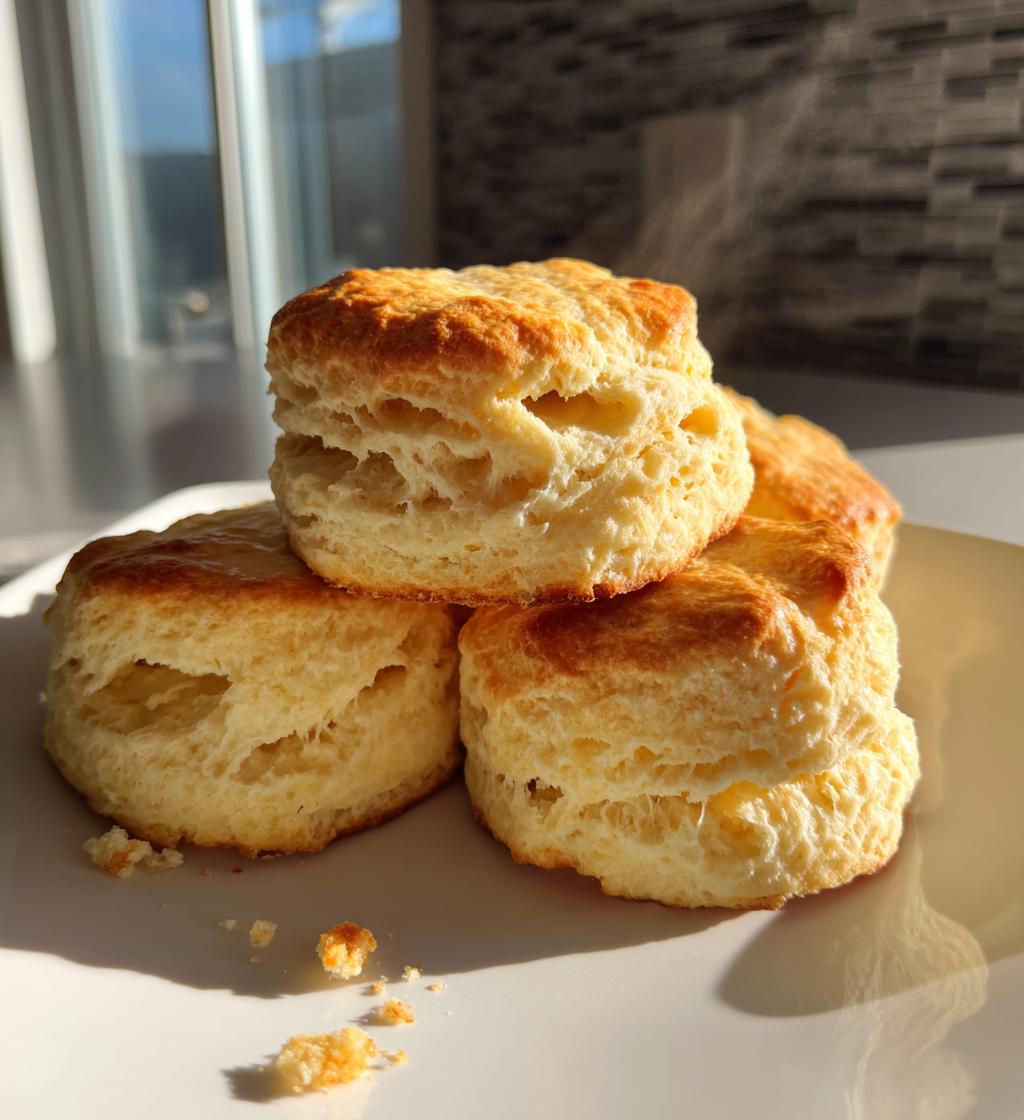
These biscuits are perfect for breakfast, slathered with jam or honey, or as a comforting side to your favorite soup or stew. What I love most is how simple they are to whip up—just a few ingredients and a little love go a long way. Plus, they’re so versatile! You can serve them with anything from gravy to strawberries, and they’re always a hit. Seriously, once you try making your own homemade buttermilk biscuits, you’ll never want the store-bought kind again!
Ingredients for Homemade Buttermilk Biscuits
- 2 cups all-purpose flour
- 1 tablespoon baking powder
- 1/2 teaspoon baking soda
- 1 teaspoon salt
- 1/2 cup unsalted butter, cold and cubed
- 3/4 cup buttermilk


How to Prepare Homemade Buttermilk Biscuits
Preheat the Oven
First things first, let’s get that oven preheated to 450°F (230°C). This step is super important because it ensures your biscuits rise beautifully and get that golden-brown crust we all love. So, while you’re mixing everything else, your oven is warming up, ready to work its magic!
Mix the Dry Ingredients
In a large mixing bowl, combine the 2 cups of all-purpose flour, 1 tablespoon of baking powder, 1/2 teaspoon of baking soda, and 1 teaspoon of salt. Give it a good whisk to make sure everything is evenly distributed. This is where the base of your biscuit begins, and trust me, it sets the tone for the fluffiness to come!
Incorporate the Butter
Now, let’s talk butter! Grab your 1/2 cup of cold, cubed unsalted butter and add it to the flour mixture. You want that butter to be cold because it’s key to achieving that flaky texture. Use a pastry cutter or your fingers to mix it in until the mixture resembles coarse crumbs. You’ll want to see some small, pea-sized pieces of butter throughout—this is what makes those biscuits so tender!
Add the Buttermilk
Next up is the buttermilk! Pour in 3/4 cup of buttermilk and gently stir until just combined. Be careful not to overmix; a few lumps are totally okay! Overmixing can lead to tough biscuits, and we definitely want them to be light and fluffy. Just stir until everything is moistened, and then stop!
Knead the Dough
Turn your dough out onto a floured surface. Here’s where the magic continues! Gently knead the dough about 5-6 times. You’re not looking to develop gluten here, so be light-handed! This gentle kneading helps bring everything together without making it tough. If your dough seems too sticky, just sprinkle a bit more flour on top.
Shape the Biscuits
Roll out the dough to about 1-inch thick. Don’t have a rolling pin? No problem! You can use your hands to pat it down gently. Once it’s rolled out, grab a biscuit cutter (or a glass) and cut out your rounds. Place those beautiful biscuits on a baking sheet lined with parchment paper, making sure they’re touching a little for extra support while they bake.
Bake and Serve
It’s time to bake! Slide your baking sheet into the oven and let those biscuits bake for about 12-15 minutes, or until they’re golden brown on top. The smell wafting through your kitchen will be absolutely heavenly! Once they’re out of the oven, serve them warm, and I promise you’ll find it hard to resist devouring them straight away. Enjoy every buttery, fluffy bite!
Why You’ll Love This Recipe
- Quick preparation time—ready in just 25 minutes!
- Fluffy texture that melts in your mouth with every bite.
- Perfect for breakfast, brunch, or as a side dish for any meal.
- Versatile use—enjoy them with gravy, jam, or even as sandwich bread!
- Made with simple ingredients you likely already have on hand.
- Freezes beautifully, so you can always have a batch ready to go!
- Impress your family and friends with your baking skills without a fuss!
Tips for Success with Homemade Buttermilk Biscuits
Alright, let’s make sure your homemade buttermilk biscuits turn out perfect every single time! I’ve learned a few tricks along the way that make all the difference, and I can’t wait to share them with you!
- Use Cold Butter: This is non-negotiable! Cold butter helps create those lovely, flaky layers in your biscuits. So, don’t forget to pop it in the fridge before you start. You can even freeze it for about 15 minutes if you have time!
- Don’t Overwork the Dough: This is a biggie. When you mix and knead the dough, you want to be gentle. Overworking it can make your biscuits tough instead of light and fluffy. Remember, a few lumps are totally fine!
- Keep Everything Cold: If your kitchen tends to get warm, consider chilling your mixing bowl and utensils. The cooler everything is, the better your biscuits will turn out!
- Use Fresh Ingredients: Make sure your baking powder and baking soda are fresh. Old leavening agents can lead to flat biscuits, and we want them to rise beautifully!
- Don’t Skip the Resting Time: After you mix in the buttermilk, let the dough rest for a few minutes before shaping. This gives the flour time to absorb the liquid, resulting in a better texture.
- Experiment with Thickness: If you like your biscuits taller, roll them out thicker! Just keep in mind that you might need to adjust the baking time slightly. Thicker biscuits may need a minute or two more in the oven.
- Serve Immediately: These biscuits are best enjoyed right out of the oven while they’re warm and fluffy. If you have any leftovers (which is rare at my house!), reheat them in the oven instead of the microwave for the best texture.
With these tips in your back pocket, you’ll be a homemade buttermilk biscuit pro in no time! Happy baking!
Nutritional Information
When it comes to homemade buttermilk biscuits, it’s always good to have an idea of what you’re indulging in! Keep in mind that nutritional values can vary based on the specific ingredients and brands you use, so these are just estimates. Here’s a breakdown of the nutritional information per biscuit:
- Calories: 150
- Fat: 7g
- Saturated Fat: 4g
- Trans Fat: 0g
- Cholesterol: 20mg
- Sodium: 200mg
- Carbohydrates: 20g
- Fiber: 1g
- Sugar: 0g
- Protein: 3g
Enjoying these fluffy biscuits as part of a balanced meal is a wonderful treat! Just remember, moderation is key, especially if you can’t resist having a second (or third) one fresh out of the oven!
FAQ Section
Got questions about homemade buttermilk biscuits? Don’t worry—I’ve got you covered! Here are some of the most common queries I get, along with my trusty answers. Let’s dive in!
Can I use regular milk instead of buttermilk?
Absolutely! If you don’t have buttermilk on hand, you can make a quick substitute. Just mix 3/4 cup of regular milk with 1 tablespoon of white vinegar or lemon juice. Let it sit for about 5 minutes to sour, and voilà—you’ve got a perfect buttermilk alternative!
What’s the best way to store leftover biscuits?
To keep your homemade buttermilk biscuits fresh, store them in an airtight container at room temperature for up to 2 days. If you want to keep them longer, pop them in the fridge for about a week or freeze them for up to 3 months. Just make sure to reheat them in the oven for that fresh-out-of-the-oven taste!
Can I make the dough ahead of time?
You can certainly make the dough ahead of time! Just prepare the dough, wrap it tightly in plastic wrap, and store it in the fridge for up to 24 hours. When you’re ready to bake, just roll it out and cut your biscuits. They might need an extra minute or two in the oven, so keep an eye on them!
Why are my biscuits dense instead of fluffy?
Oh no! Dense biscuits can happen if the dough is overmixed or if you’ve added too much flour. Make sure to mix just until everything is combined and keep your measurements accurate. A light hand during kneading is key to that fluffy texture we all love!
Can I add cheese or herbs to the biscuit dough?
Yes, yes, yes! Feel free to get creative! Adding shredded cheese or fresh herbs to the dough is a fantastic way to amp up the flavor. Just fold in about 1/2 to 1 cup of your favorite mix-ins right after you add the buttermilk. Enjoy your delicious creations!
Storage & Reheating Instructions
Let’s talk about how to keep those delicious homemade buttermilk biscuits fresh and how to reheat them for the best taste! First off, if you find yourself with any leftovers (which is a rare occasion in my house, but it happens!), make sure to store them properly. Place your biscuits in an airtight container at room temperature for up to 2 days. They’ll stay soft and tasty, just like the day you baked them!
If you want to keep them longer, you can pop them in the fridge for about a week. Just be sure to seal them well to avoid any moisture getting in. Now, if you really want to plan ahead, you can freeze your biscuits! Simply wrap each biscuit tightly in plastic wrap or aluminum foil and then place them in a freezer-safe bag. They can last for up to 3 months in the freezer, which is great for those busy days when you crave a warm biscuit.
When it’s time to enjoy those leftovers, reheating is key to bringing back that fresh-baked goodness. For the best results, preheat your oven to 350°F (175°C). Place the biscuits on a baking sheet and cover them lightly with aluminum foil to prevent them from getting too brown. Bake for about 10-15 minutes, or until they’re warmed through. This method keeps them fluffy and delicious, just like when they came out of the oven!
If you’re in a hurry, you can use the microwave, but be careful! Place a biscuit on a microwave-safe plate, cover it with a damp paper towel, and heat for about 15-20 seconds. Just remember, this method might not keep them as fluffy as the oven does, but it’ll still do the trick in a pinch!
Now you’re all set to store and reheat your homemade buttermilk biscuits like a pro. Enjoy every last bite!
Print
Homemade Buttermilk Biscuits: 7 Steps to Comforting Bliss
- Total Time: 25 minutes
- Yield: 10 biscuits 1x
- Diet: Vegetarian
Description
Homemade buttermilk biscuits are fluffy, buttery, and perfect for breakfast or as a side dish.
Ingredients
- 2 cups all-purpose flour
- 1 tablespoon baking powder
- 1/2 teaspoon baking soda
- 1 teaspoon salt
- 1/2 cup unsalted butter, cold and cubed
- 3/4 cup buttermilk
Instructions
- Preheat your oven to 450°F (230°C).
- In a bowl, mix flour, baking powder, baking soda, and salt.
- Add cold butter and mix until crumbly.
- Stir in buttermilk until just combined.
- Turn dough onto a floured surface and knead gently.
- Roll out to about 1-inch thick and cut into rounds.
- Place on a baking sheet and bake for 12-15 minutes.
- Serve warm.
Notes
- Use cold butter for best results.
- Do not overwork the dough.
- Store leftovers in an airtight container.
- Prep Time: 10 minutes
- Cook Time: 15 minutes
- Category: Baking
- Method: Baking
- Cuisine: American
Nutrition
- Serving Size: 1 biscuit
- Calories: 150
- Sugar: 0g
- Sodium: 200mg
- Fat: 7g
- Saturated Fat: 4g
- Unsaturated Fat: 2g
- Trans Fat: 0g
- Carbohydrates: 20g
- Fiber: 1g
- Protein: 3g
- Cholesterol: 20mg
Keywords: homemade buttermilk biscuits, biscuits, breakfast