

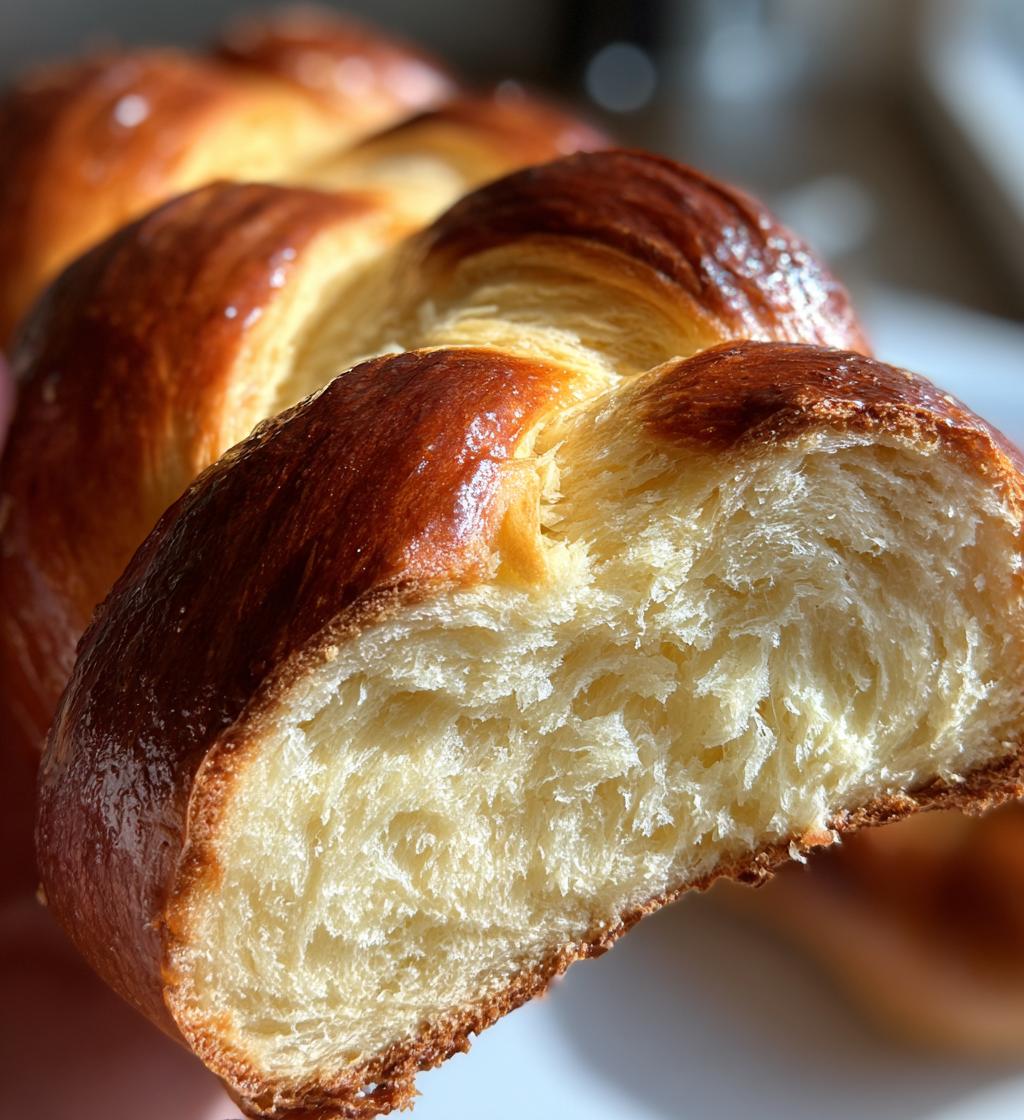
Ah, challah bread! This beautiful, braided loaf is not just a staple at Jewish celebrations, but it’s also a warm hug of a bread that brings comfort to any table. With its soft texture and slightly sweet flavor, it’s simply irresistible. I remember the first time I made challah—it was a chilly Sunday afternoon, and the aroma filled my kitchen like a cozy blanket. My family couldn’t wait to dig in! There’s something so special about creating this bread from scratch, letting the dough rise and transform into a golden masterpiece. Plus, the braiding technique feels almost like a meditative dance. It’s a recipe that connects me to my heritage and reminds me of the joy of sharing meals with loved ones. I love that it’s versatile too—perfect for sandwiches, French toast, or just slathered with butter. Trust me, once you’ve tasted homemade challah, you’ll wonder how you ever settled for store-bought! So, let’s dive into making this delicious bread together!
Ingredients for Challah Bread
To make the most delightful challah bread, you’ll need just a few simple ingredients. Here’s what you’ll gather:
- 4 cups all-purpose flour – This will give your bread that perfect soft texture.
- 1/2 cup sugar – Just the right amount to add a hint of sweetness.
- 1 tablespoon salt – Essential for balancing the flavors.
- 1 tablespoon active dry yeast – This is what helps our dough rise beautifully.
- 1/2 cup warm water – Make sure it’s warm, not hot, to activate the yeast.
- 1/2 cup vegetable oil – This keeps the bread moist and adds a lovely richness.
- 3 large eggs – These add richness and help bind everything together.
- 1 egg (for egg wash) – This gives your challah that gorgeous golden finish.
Gather these ingredients, and you’ll be well on your way to creating a loaf that not only looks stunning but tastes heavenly too!


How to Prepare Challah Bread
Now that we’ve gathered our ingredients, it’s time to bring this challah bread to life! I promise it’s easier than it looks, and the smell that wafts through your kitchen will be worth every step. Let’s dive into the process!
Step-by-Step Instructions
- First things first, grab a bowl and mix 1 tablespoon of active dry yeast into 1/2 cup of warm water. Let it sit for about 5-10 minutes. You’ll know it’s ready when it gets all frothy—this means the yeast is alive and kicking!
- Next, add 1/2 cup of sugar, 1 tablespoon of salt, 1/2 cup of vegetable oil, and 3 large eggs to the yeast mixture. Mix it all together until well combined. This is where the magic starts!
- Now, gradually add 4 cups of all-purpose flour to the mixture. I like to start with a wooden spoon, but once it gets too thick, dive in with your hands! Knead the dough for about 8-10 minutes until it’s smooth and elastic. If it’s too sticky, sprinkle a little extra flour, but don’t overdo it!
- Once you’ve got a lovely dough, place it in a greased bowl, cover it with a clean cloth, and let it rise in a warm spot for about 1 hour. You want it to double in size—this is when you can really admire your handiwork!
- After the hour, punch down the dough to release the air (trust me, it feels satisfying!). Divide it into three equal pieces. This is where the fun begins—let’s braid!
- Roll each piece into long strands (about 12 inches) and then braid them together. Don’t worry if it’s not perfect; each loaf has its character! Pinch the ends to seal.
- Place your beautiful braided loaf onto a baking sheet lined with parchment paper. Cover it again and let it rise for another 30 minutes. Preheat your oven to 350°F (175°C) while you wait.
- Before baking, brush the top with the egg wash (that 1 egg we saved) for that golden finish. Bake for 30-35 minutes until it’s golden brown and sounds hollow when tapped.
- Let it cool on a wire rack before slicing. Patience is key here, but oh, the aroma will tempt you!
Tips for Success
- Kneading: When kneading, make sure to use the heel of your hand and push the dough away from you, then fold it back. Repeat this motion until the dough is smooth. It’s a great workout!
- Rising: If your kitchen is chilly, you can create a warm environment by placing the dough in the oven (turned off, of course) with just the oven light on. This helps the yeast do its thing!
- Testing the dough: To check if the dough has risen enough, gently poke it with your finger. If the indentation remains, it’s ready to go. If it springs back, give it a little more time!
- Egg wash: For an even shinier finish, you can mix a little water or milk into your egg wash. It adds a nice sheen that makes your challah look bakery-fresh.
- Cooling: Resist the urge to slice it immediately—letting it cool completely allows the flavors to settle and the texture to firm up!
Nutritional Information
When it comes to enjoying homemade challah bread, it’s nice to have an idea of what you’re indulging in! Here’s the estimated nutritional breakdown per slice:
- Calories: 150
- Fat: 5g
- Saturated Fat: 0.5g
- Unsaturated Fat: 4.5g
- Trans Fat: 0g
- Cholesterol: 50mg
- Sodium: 150mg
- Carbohydrates: 24g
- Fiber: 1g
- Protein: 4g
- Sugar: 3g
Keep in mind, these values are estimates and can vary based on specific ingredients you use or any delicious additions you decide to make. So, enjoy your challah bread guilt-free, knowing you’re treating yourself to something special!
Why You’ll Love This Recipe
Making challah bread is not just about baking; it’s an experience filled with love and tradition. Here are just a few reasons why this recipe will become a cherished part of your kitchen routine:
- Rich Flavor: The slightly sweet taste of challah is simply divine. It pairs beautifully with both sweet and savory dishes, making it a versatile choice for any meal.
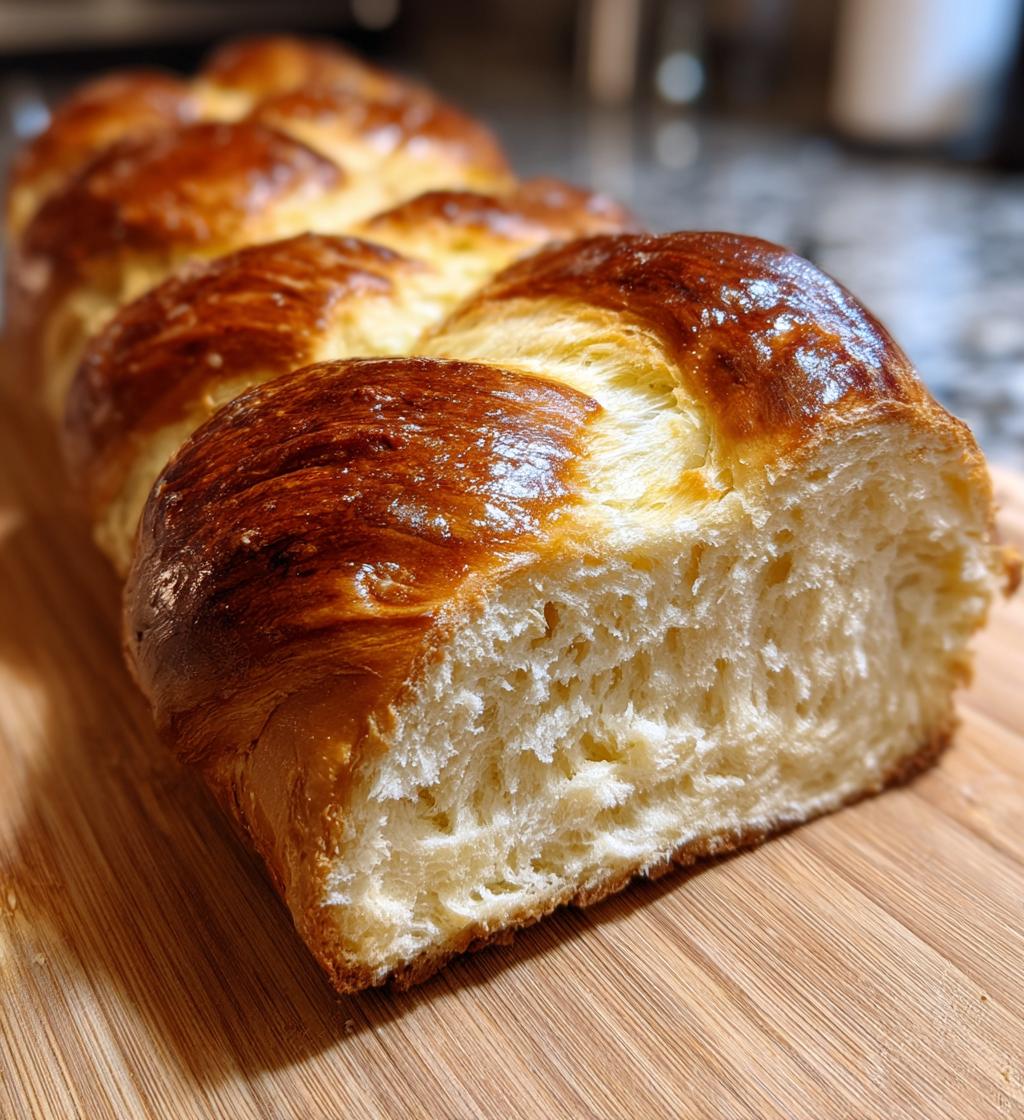
- Beautiful Appearance: That gorgeous braided look? It’s a showstopper! Your friends and family will be impressed, and it makes any table setting feel special.
- Perfect for Sharing: Challah is often enjoyed during gatherings and celebrations, making it a great bread to share with loved ones. It brings everyone together, and there’s something so satisfying about breaking bread with others.
- Versatility: Whether you’re using it for French toast, sandwiches, or simply enjoying a slice with butter, challah bread can do it all. It’s a fantastic base for so many delicious meals!
- Fun to Make: The process of kneading, braiding, and watching the dough rise is incredibly rewarding. Plus, it’s a great way to get the kids involved in the kitchen—who doesn’t love a little dough wrestling?
- Homemade Touch: There’s nothing quite like the smell of fresh-baked bread wafting through your home. It creates a warm, inviting atmosphere that makes your kitchen feel like the heart of the home.
Trust me, once you make this challah bread, you’ll understand why it holds such a special place in so many hearts (and stomachs!).
Serving Suggestions
Challah bread is not just delicious on its own; it shines even brighter when paired with the right accompaniments! Here are some of my favorite ways to enjoy this beautiful loaf:
- With Spreads: A simple layer of butter is heavenly, but you can also try it with honey or a sweet fruit jam. The combination of the slightly sweet bread with these toppings is a match made in heaven!
- As French Toast: Challah makes the most decadent French toast! Just soak slices in a mixture of eggs, milk, and cinnamon, then cook them until golden brown. Serve with maple syrup or fresh berries for a brunch that will wow your guests.
- For Sandwiches: Use challah for sandwiches—its soft texture makes it perfect for any filling. Try a classic turkey and cheese, or go for something unique like a roasted veggie and hummus combo.
- With Soups: A warm bowl of soup is even better with a slice of challah on the side! It’s perfect for dipping into creamy tomato soup or a hearty vegetable broth. Trust me, you’ll want to savor every bite!
- As a Bread Pudding: If you have any leftovers, turn them into a delightful bread pudding! Just cube the bread and mix it with eggs, milk, and your favorite spices for a comforting dessert that will be the cherry on top of any meal.
- For Special Occasions: Serve it at family gatherings, holidays, or any celebration. It’s a beautiful centerpiece that invites sharing and creates memories around the table.
So, get creative and don’t be afraid to experiment! Challah bread is versatile, and I promise it’ll elevate any dish you pair it with. Enjoy your baking adventure!
Storage & Reheating Instructions
Once you’ve baked your gorgeous challah bread and enjoyed some fresh slices, you’ll want to make sure it stays delicious for days to come! Here’s how to store your leftover bread properly so you can savor it again later.
First off, make sure your challah is completely cool before storing it. This helps prevent moisture buildup, which can make the bread soggy. Once it’s cooled, you can wrap it tightly in plastic wrap or place it in an airtight container. This will keep it fresh and soft for up to 3 days at room temperature.
If you find that you have more challah than you can eat in a few days (which is a great problem to have!), consider freezing some for later. Just slice the bread into individual pieces, wrap each slice in plastic wrap, and then place them in a freezer bag. This way, you can grab a piece whenever you crave that homemade goodness! It’ll stay good in the freezer for about 2-3 months.
When you’re ready to enjoy your frozen challah, simply take out the slices you want and let them thaw at room temperature for a couple of hours. If you’re in a hurry, you can pop them in the microwave for 10-15 seconds or toast them directly from frozen. Just keep an eye on them to avoid over-toasting! This method will revive that delightful texture without losing its charm.
So, whether you’re enjoying fresh slices or reheating leftovers, you’re in for a treat! I promise, there’s nothing quite like the smell of challah bread filling your kitchen again. Happy baking and storing!
FAQ About Challah Bread
Got questions about making challah bread? Don’t worry, I’ve got you covered! Here are some common queries I’ve encountered along the way, along with my best answers to help you on your baking journey.
Can I use whole wheat flour instead of all-purpose flour?
Absolutely! You can substitute up to half of the all-purpose flour with whole wheat flour for a nuttier flavor and added nutrition. Just keep in mind that the texture might be slightly denser, so adjust the liquid if necessary.
What if my dough isn’t rising?
If your dough isn’t rising, it could be due to the yeast being expired or the water being too hot or too cold. Make sure your water is warm (about 110°F or 43°C), and check the yeast for freshness. If it’s still not rising, try placing it in a warm spot, like an oven with just the light on, to encourage it!
Can I add ingredients like raisins or nuts?
Definitely! You can fold in raisins, chocolate chips, or nuts into the dough after kneading. Just be careful not to overmix the dough afterward, as you want to maintain that lovely texture. Adding these ingredients can transform your challah into a delightful treat!
How do I know when my challah is done baking?
Your challah is done when it’s beautifully golden brown and sounds hollow when you tap the bottom. It should also have a nice, crusty exterior. If you’re unsure, you can always use a kitchen thermometer—the internal temperature should reach about 190°F (88°C).
Can I make challah ahead of time?
Yes, you can! After shaping the dough, you can refrigerate it overnight before the final rise and baking. Just make sure to cover it well. When you’re ready to bake, let it come to room temperature and rise for about 30 minutes before popping it in the oven!
Print
Delight in Homemade Challah Bread: A Comforting Recipe
- Total Time: 1 hour 55 minutes
- Yield: 1 loaf 1x
- Diet: Vegetarian
Description
Challah bread is a traditional Jewish bread, known for its soft texture and slightly sweet flavor.
Ingredients
- 4 cups all-purpose flour
- 1/2 cup sugar
- 1 tablespoon salt
- 1 tablespoon active dry yeast
- 1/2 cup warm water
- 1/2 cup vegetable oil
- 3 large eggs
- 1 egg for egg wash
Instructions
- In a bowl, dissolve yeast in warm water.
- Add sugar, salt, oil, and eggs. Mix well.
- Gradually add flour, kneading until smooth.
- Let the dough rise in a warm place for 1 hour.
- Punch down the dough and divide it into three equal pieces.
- Braid the pieces together to form a loaf.
- Place on a baking sheet and let rise for another 30 minutes.
- Preheat oven to 350°F (175°C).
- Brush with egg wash and bake for 30-35 minutes.
- Let cool before slicing.
Notes
- Store in an airtight container.
- Best served fresh or toasted.
- You can add raisins or seeds for extra flavor.
- Prep Time: 20 minutes
- Cook Time: 35 minutes
- Category: Bread
- Method: Baking
- Cuisine: Jewish
Nutrition
- Serving Size: 1 slice
- Calories: 150
- Sugar: 3g
- Sodium: 150mg
- Fat: 5g
- Saturated Fat: 0.5g
- Unsaturated Fat: 4.5g
- Trans Fat: 0g
- Carbohydrates: 24g
- Fiber: 1g
- Protein: 4g
- Cholesterol: 50mg
Keywords: challah bread, Jewish bread, braided bread